Do you want to learn how to make a SCOBY? Allow me to show you the simple steps you need. If you have dreamed of making your own kombucha but don't know where to begin, this awesomely fun project is the place to kick off from.
I confess I was really baffled when I first set out to make my own Kombucha Brew at home to save money. There seemed to be so many lengthy and confusing instructions.
That's why I have created this post to show you just how simple it is to grow a SCOBY and begin your own kombucha brewing journey.
Jump to:
Why grow your own?
- Save money
- No hidden ingredients
- Rewarding project
- Teach your friends and relatives and share SCOBYs.
SCOBY, what a funny name. You will want to memorize it because "symbiotic culture of bacteria and yeast" is too long, don't you think? You're probably more interested in learning how to make a SCOBY and why you need it to make homemade kombucha.
Well, just like yogurt and sourdough bread need a mother culture to grow the beneficial bacteria that create wonderful flavors and healthful nutrients, kombucha needs a mother culture.
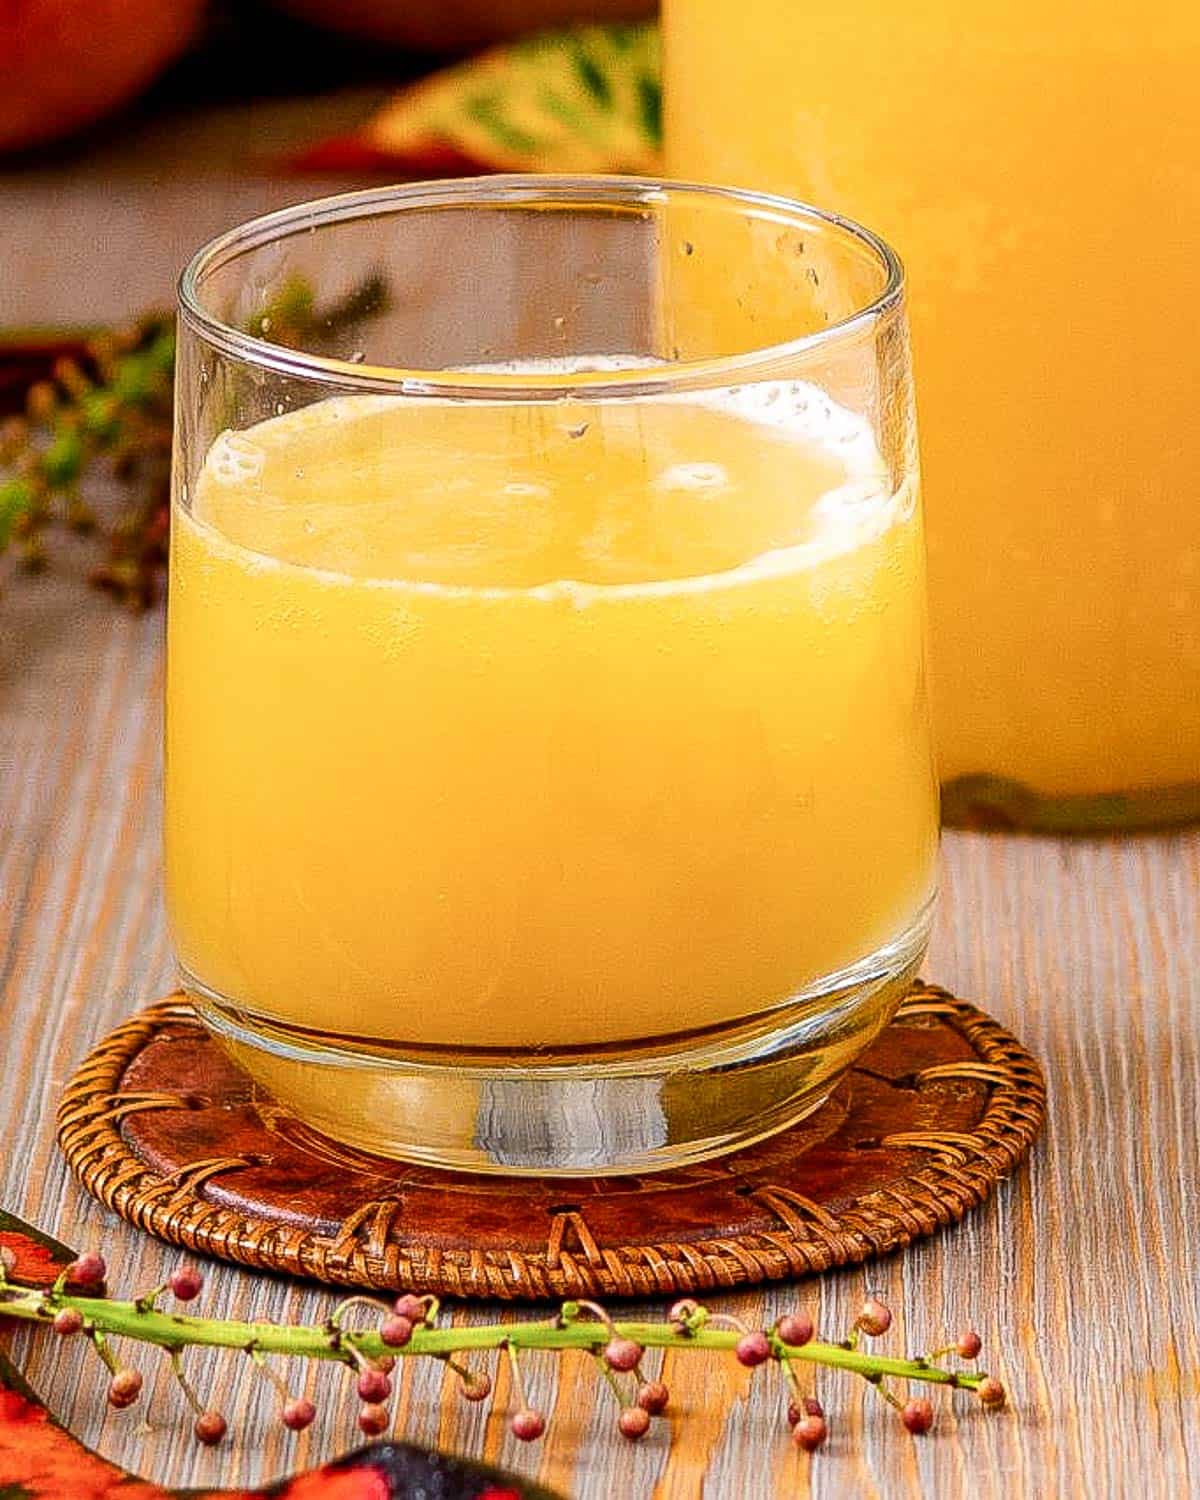
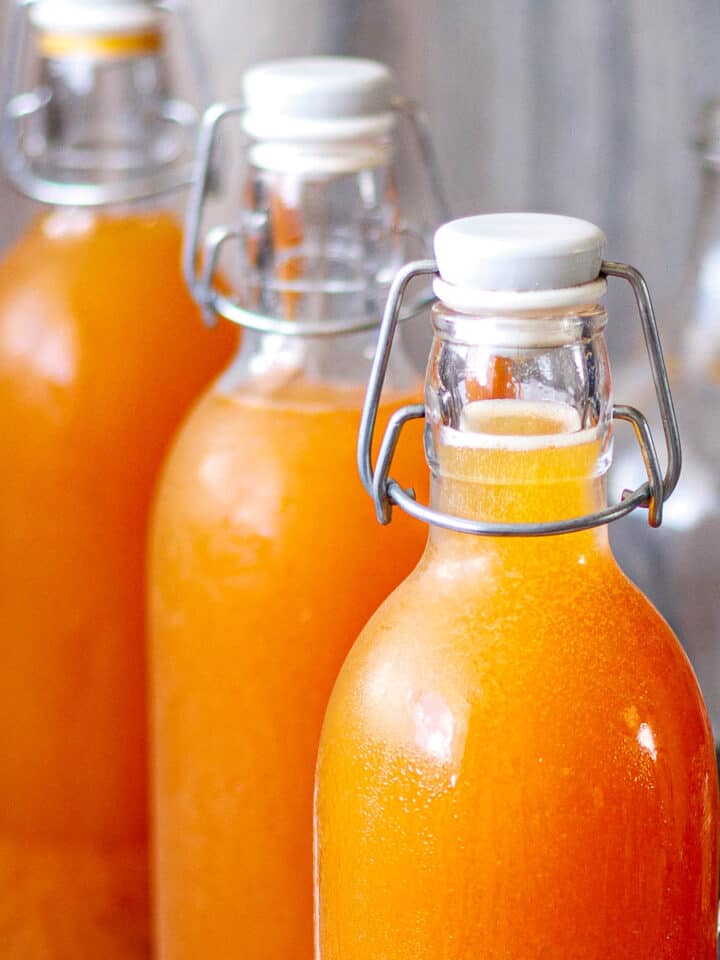
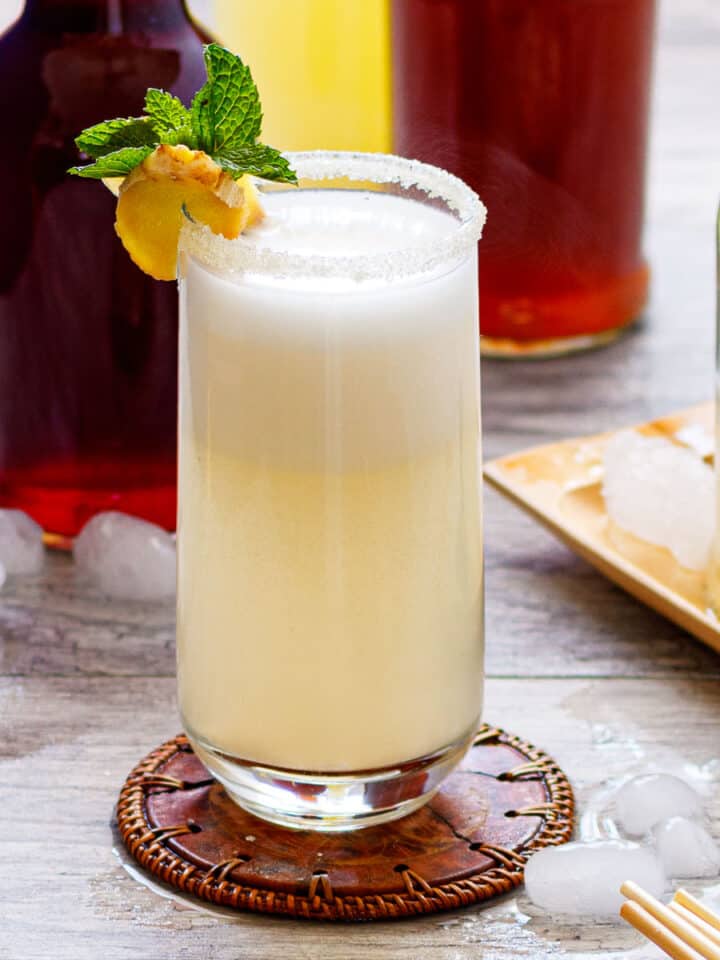
A SCOBY is the starter that makes it possible to brew plain kombucha. You can enjoy this first fermentation as is. Or, you can use it to do a second fermentation and make fizzy, refreshing Fruit-Flavored Probiotic Drinks.
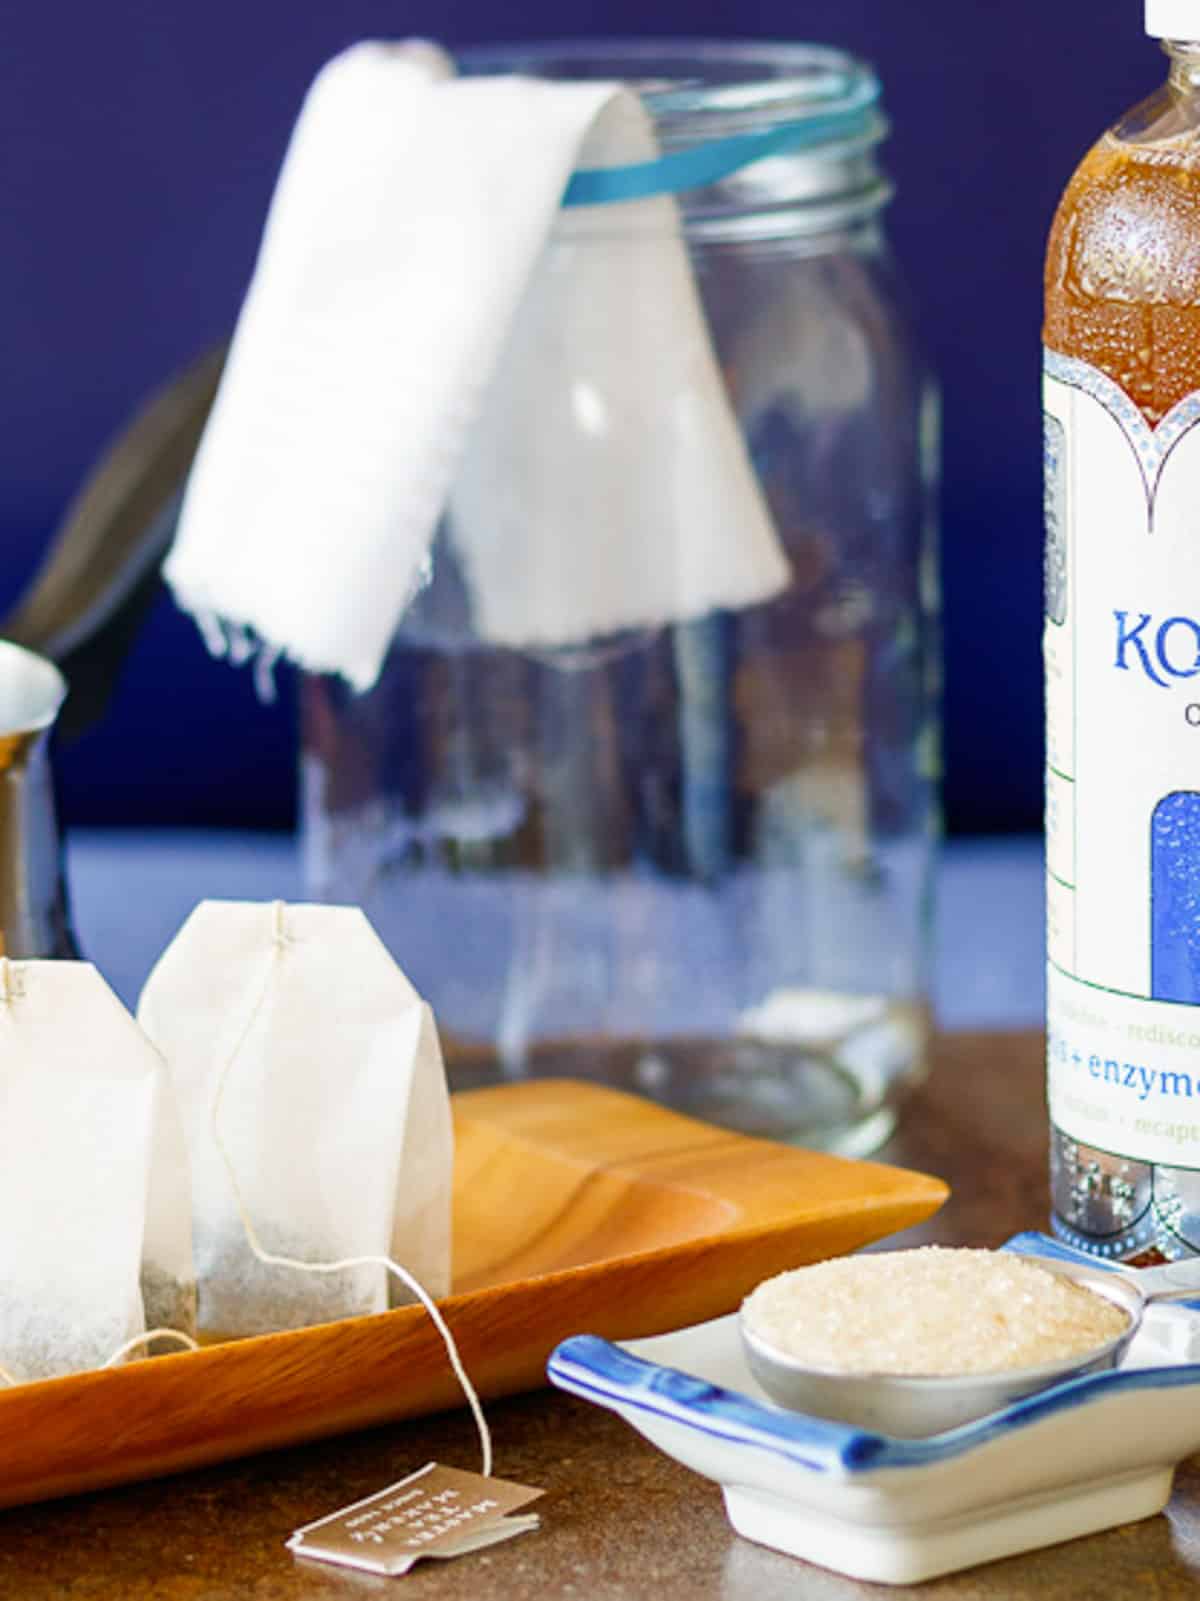
Ingredients
I use Gt's Classic Original Raw Kombucha as the starter liquid for this recipe. However, you can use other brands or homemade plain raw kombucha as long as you verify a couple of things.
When you choose your starter kombucha, make sure that it has live probiotics and doesn't have any fruit, flavorings, color, or additives. These requirements are a must.
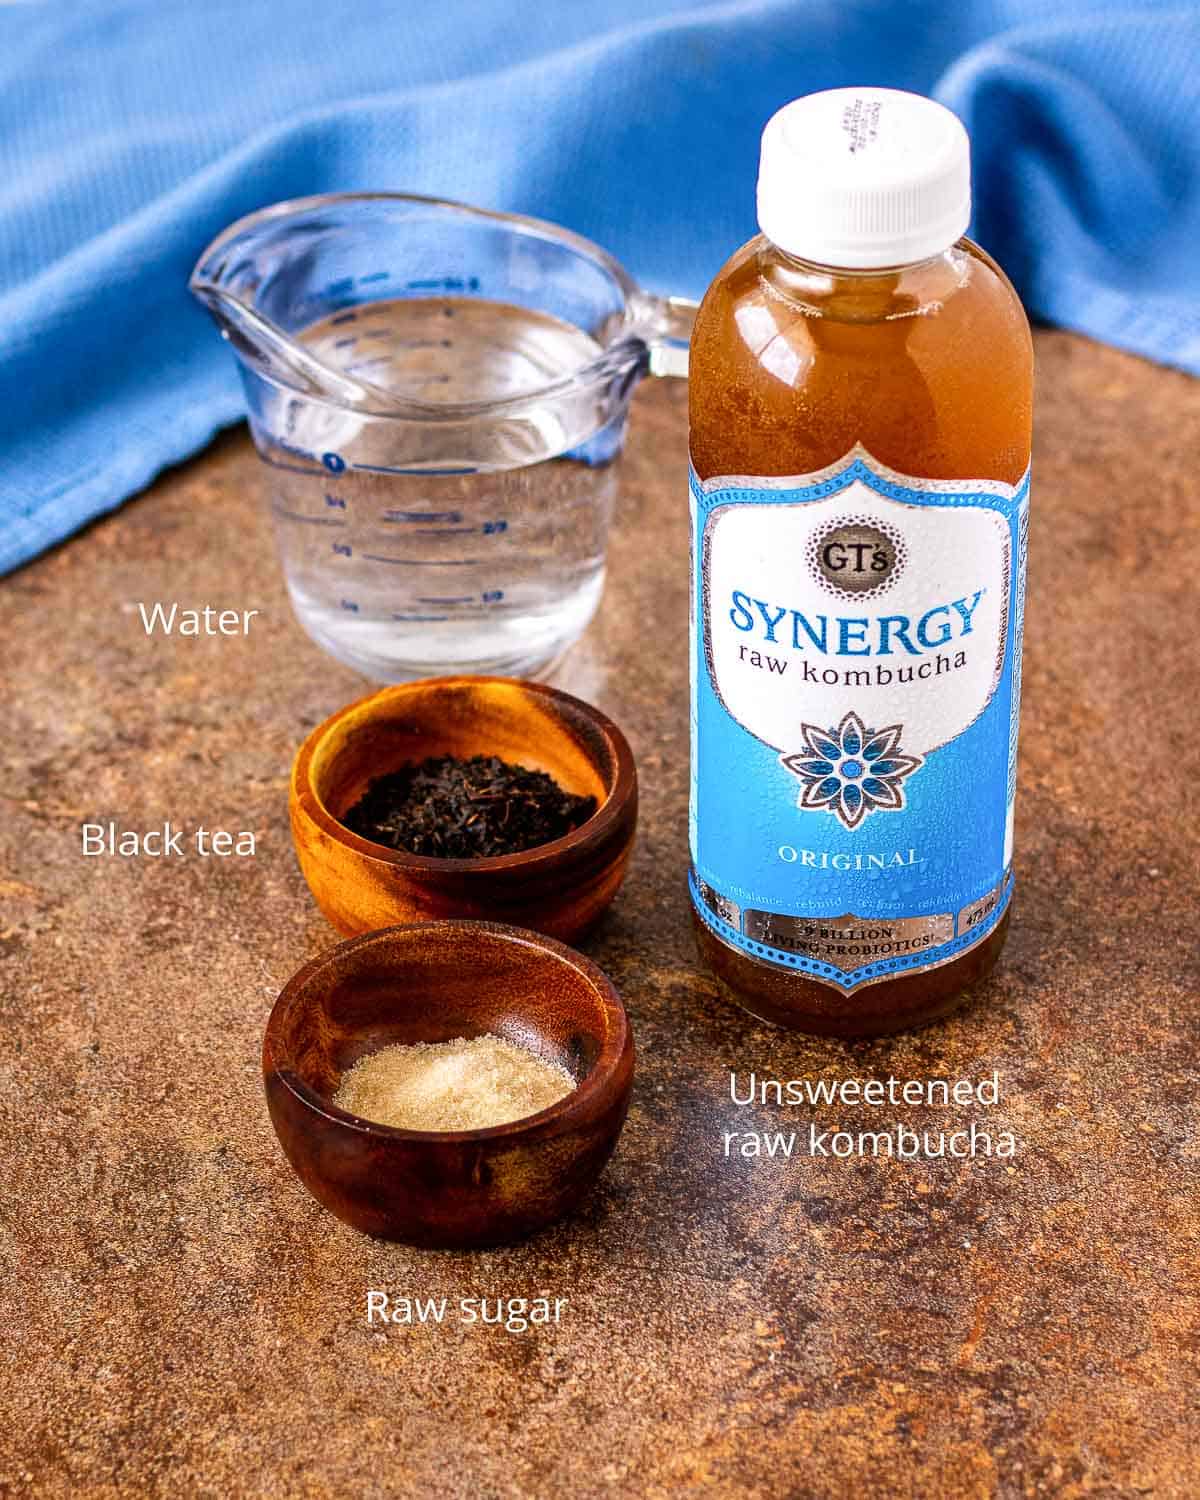
- Water - Filtered water without chlorine provides a pure growing medium.
- Kombucha - Plain, unsweetened, raw kombucha with live bacteria is essential.
- Tea - Black tea leaves or natural black tea bags.
- Sugar - Organic raw evaporated cane sugar keeps it vegan.
Equipment
- Small pan
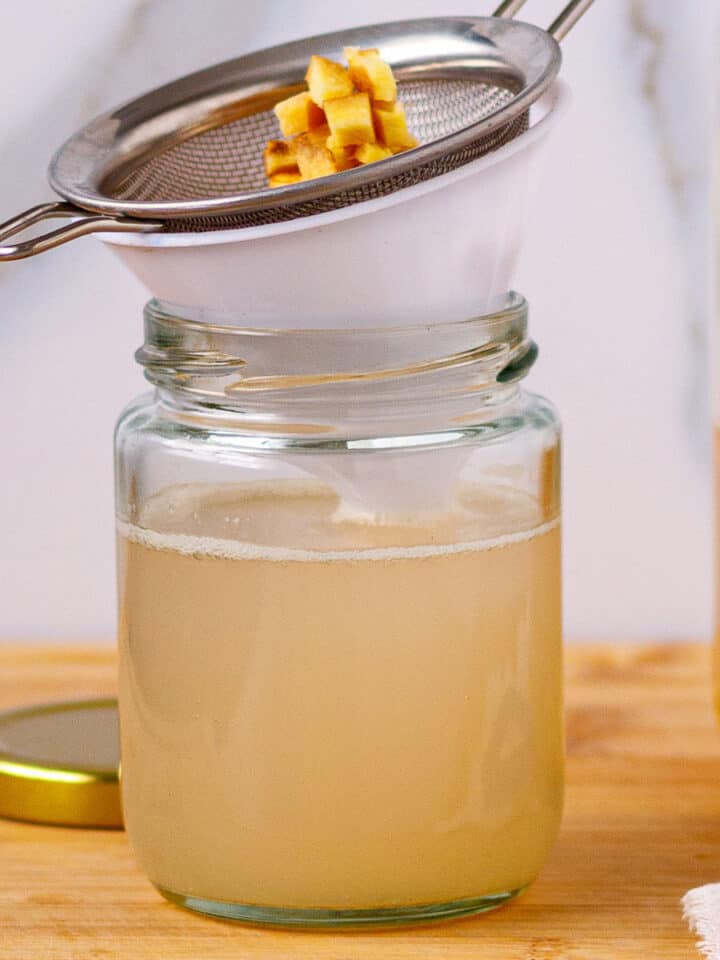
- Fine-mesh strainer
- Quart jar
- Tight weave breathable cloth
- Rubber band
Steps
Setting up a jar to start a SCOBY takes less than 30 minutes. After that, it grows at varied rates in different environments.
SCOBYs for kombucha thrive in temperatures between 75 and 85 degrees. With that warmth, it takes about 2 weeks to grow a ¼ inch thick kombucha SCOBY.

- Steep sugar and tea leaves in boiling water and cool to room temperature.
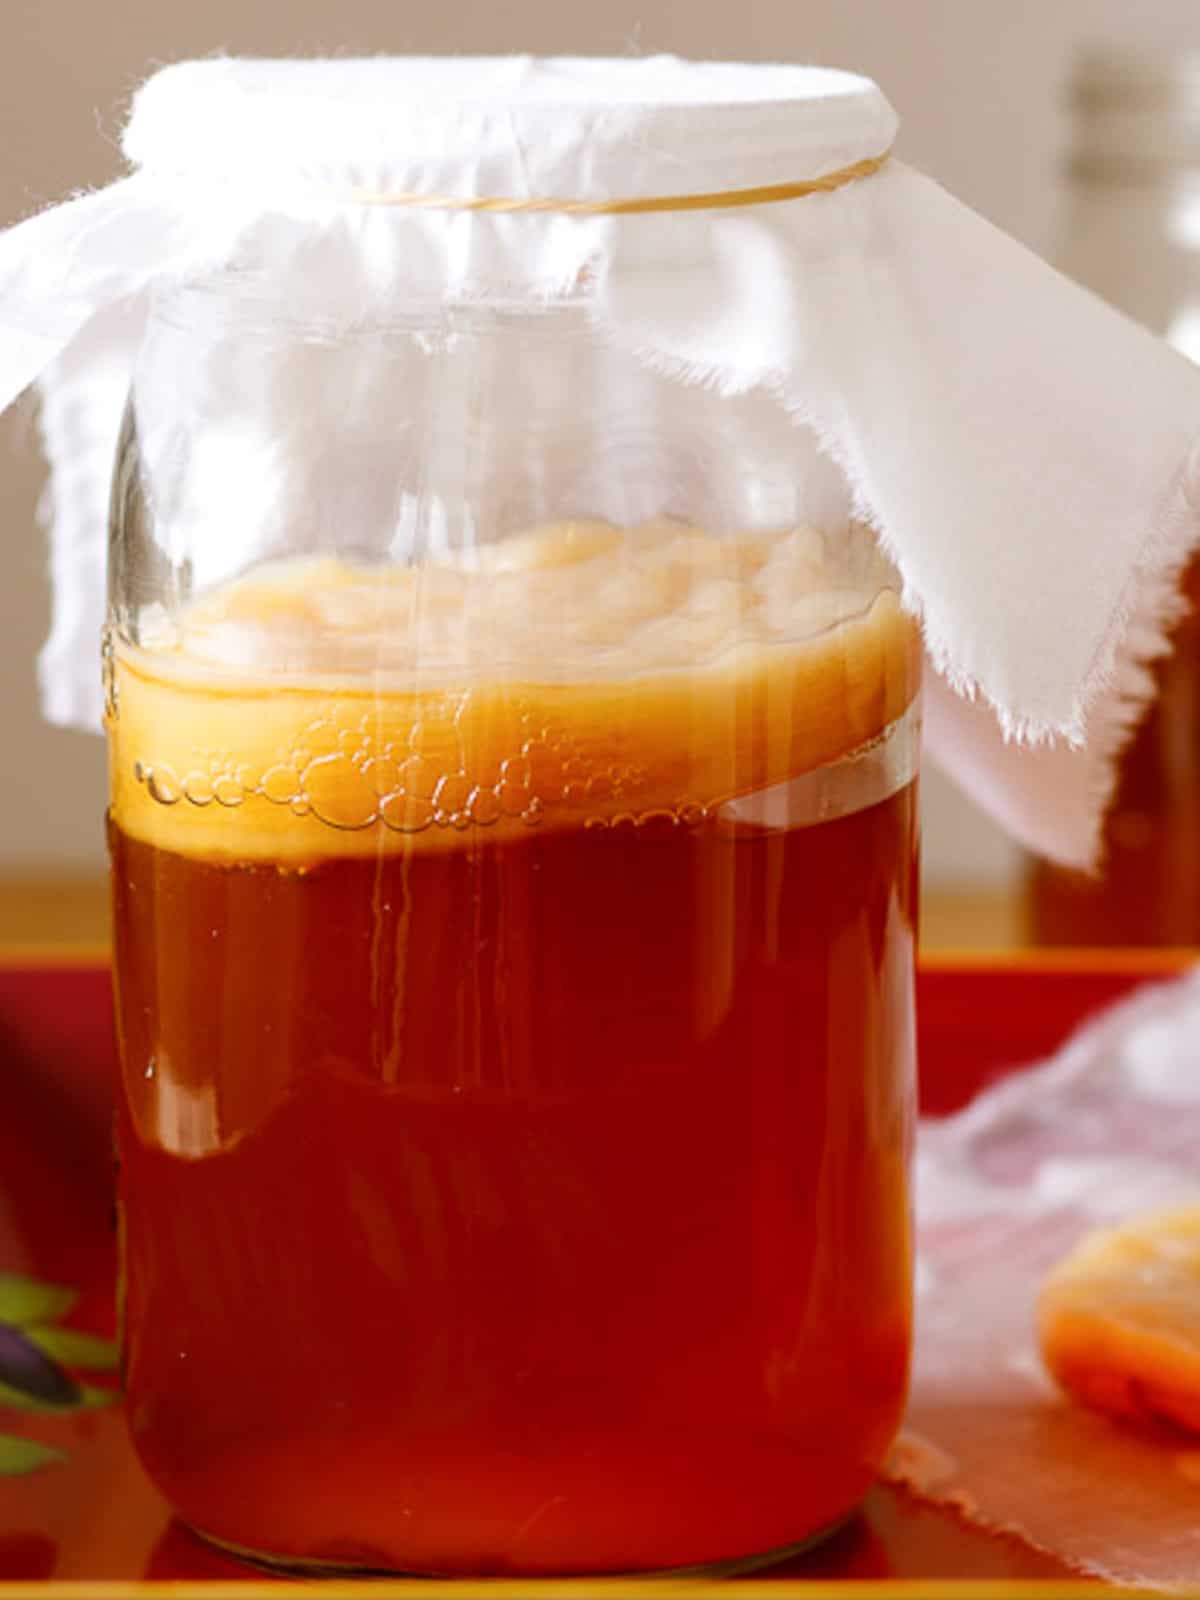
- Mix plain kombucha and strained tea in a quart jar.
- Cover with a cloth and a rubber band.
- Wait 2-4 weeks until your SCOBY has matured.
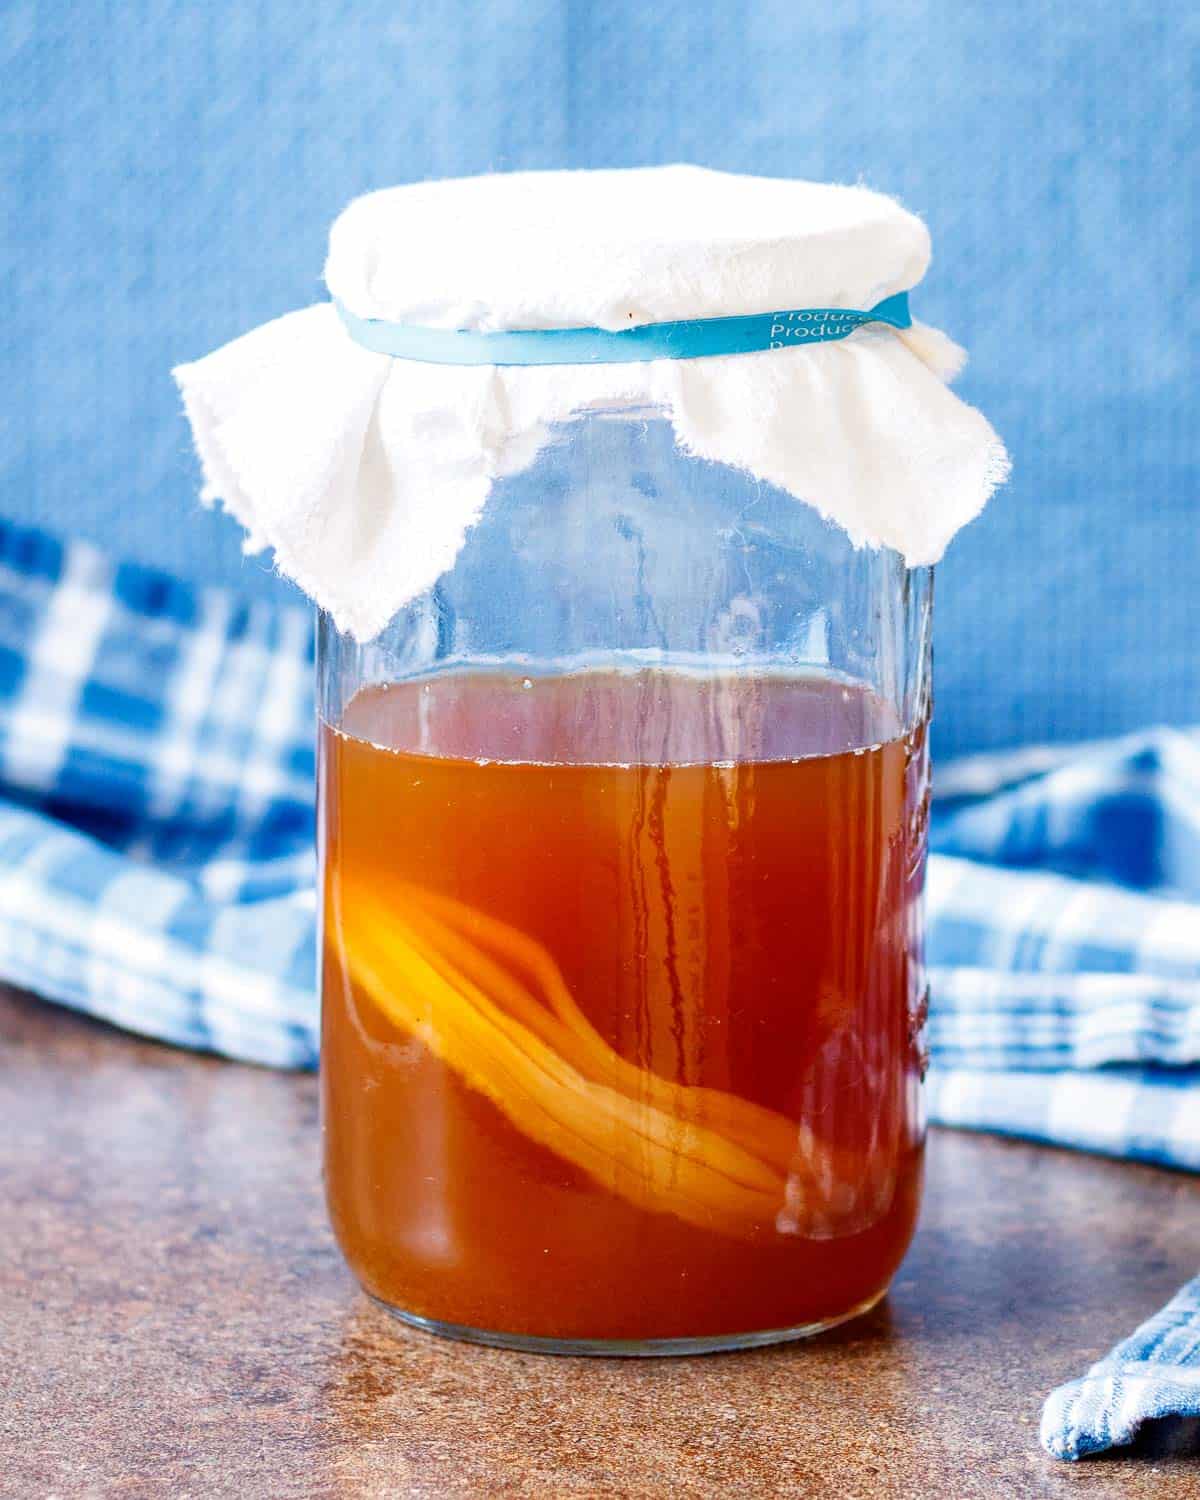
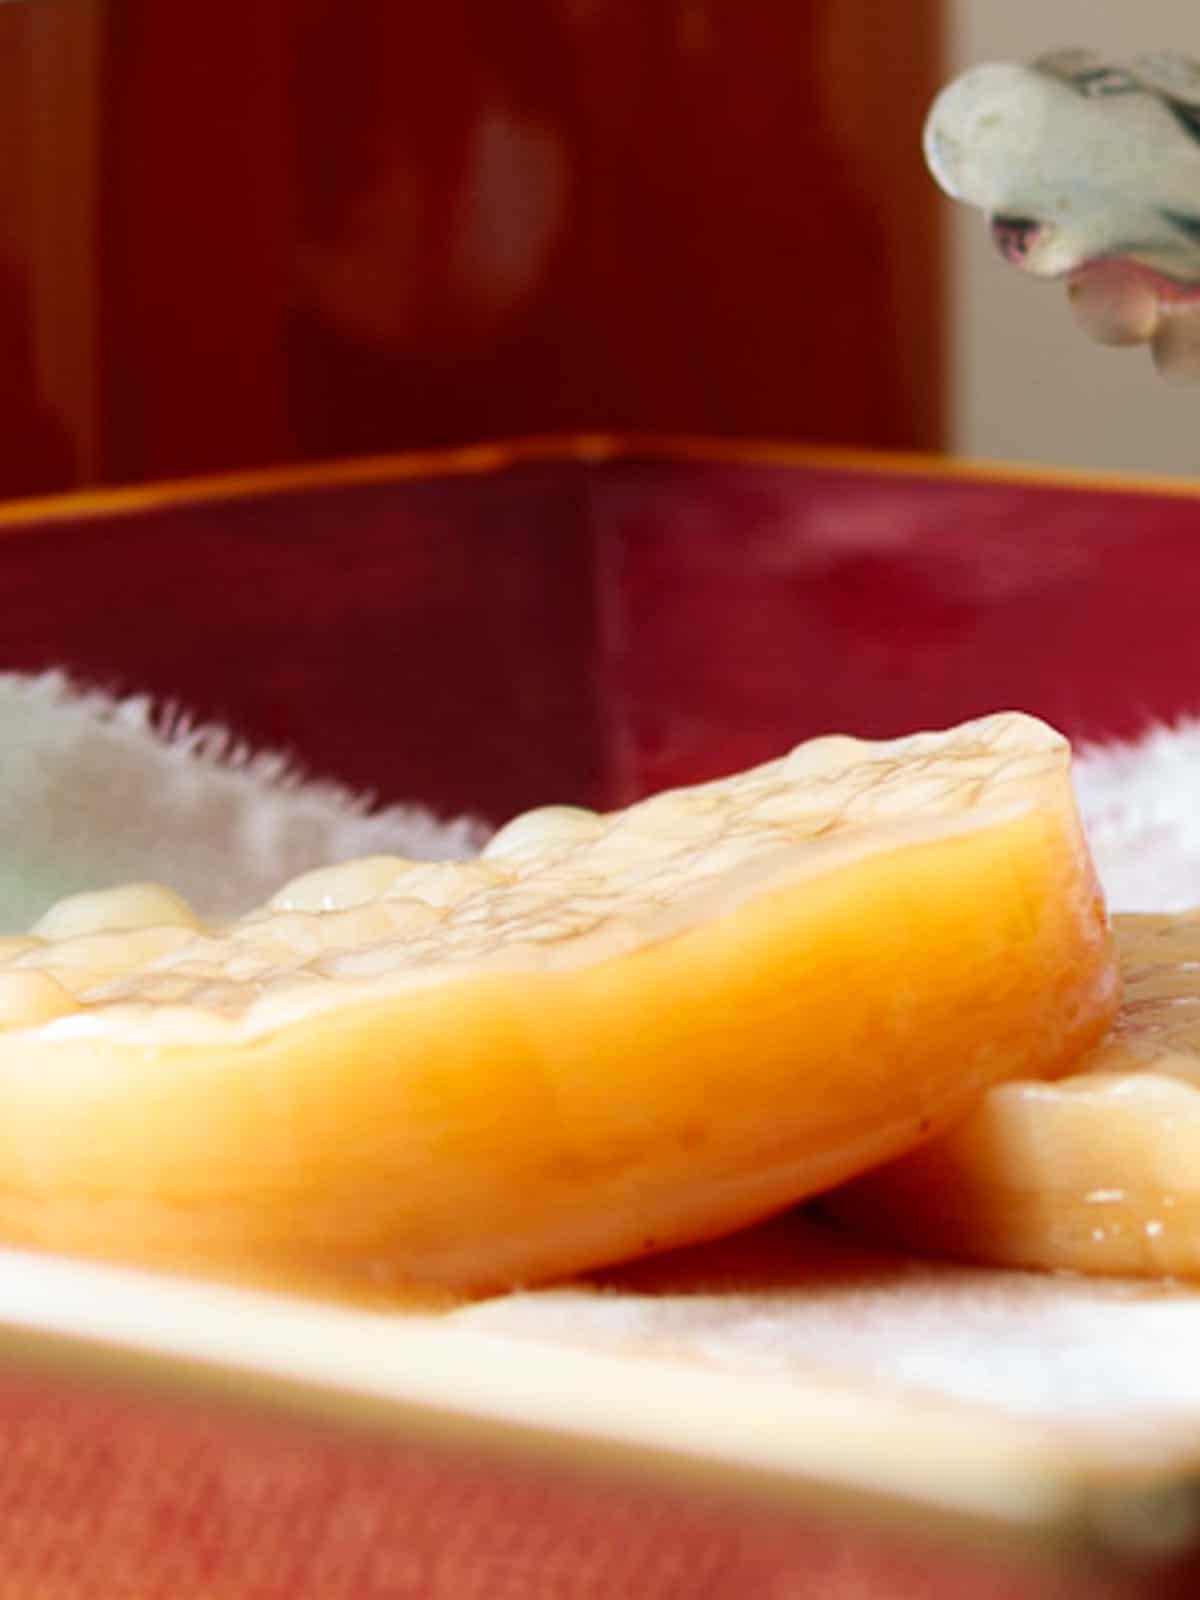
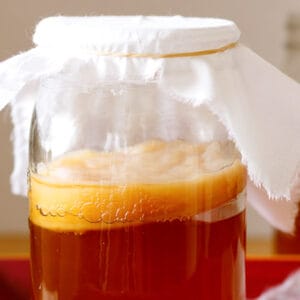
What does a SCOBY look like?
Trust me, when you learn how to make a SCOBY you will be able to impress all your friends and relatives with its slippery texture and intriguing appearance. Don't worry, it's a lot more pleasant to touch than it looks!
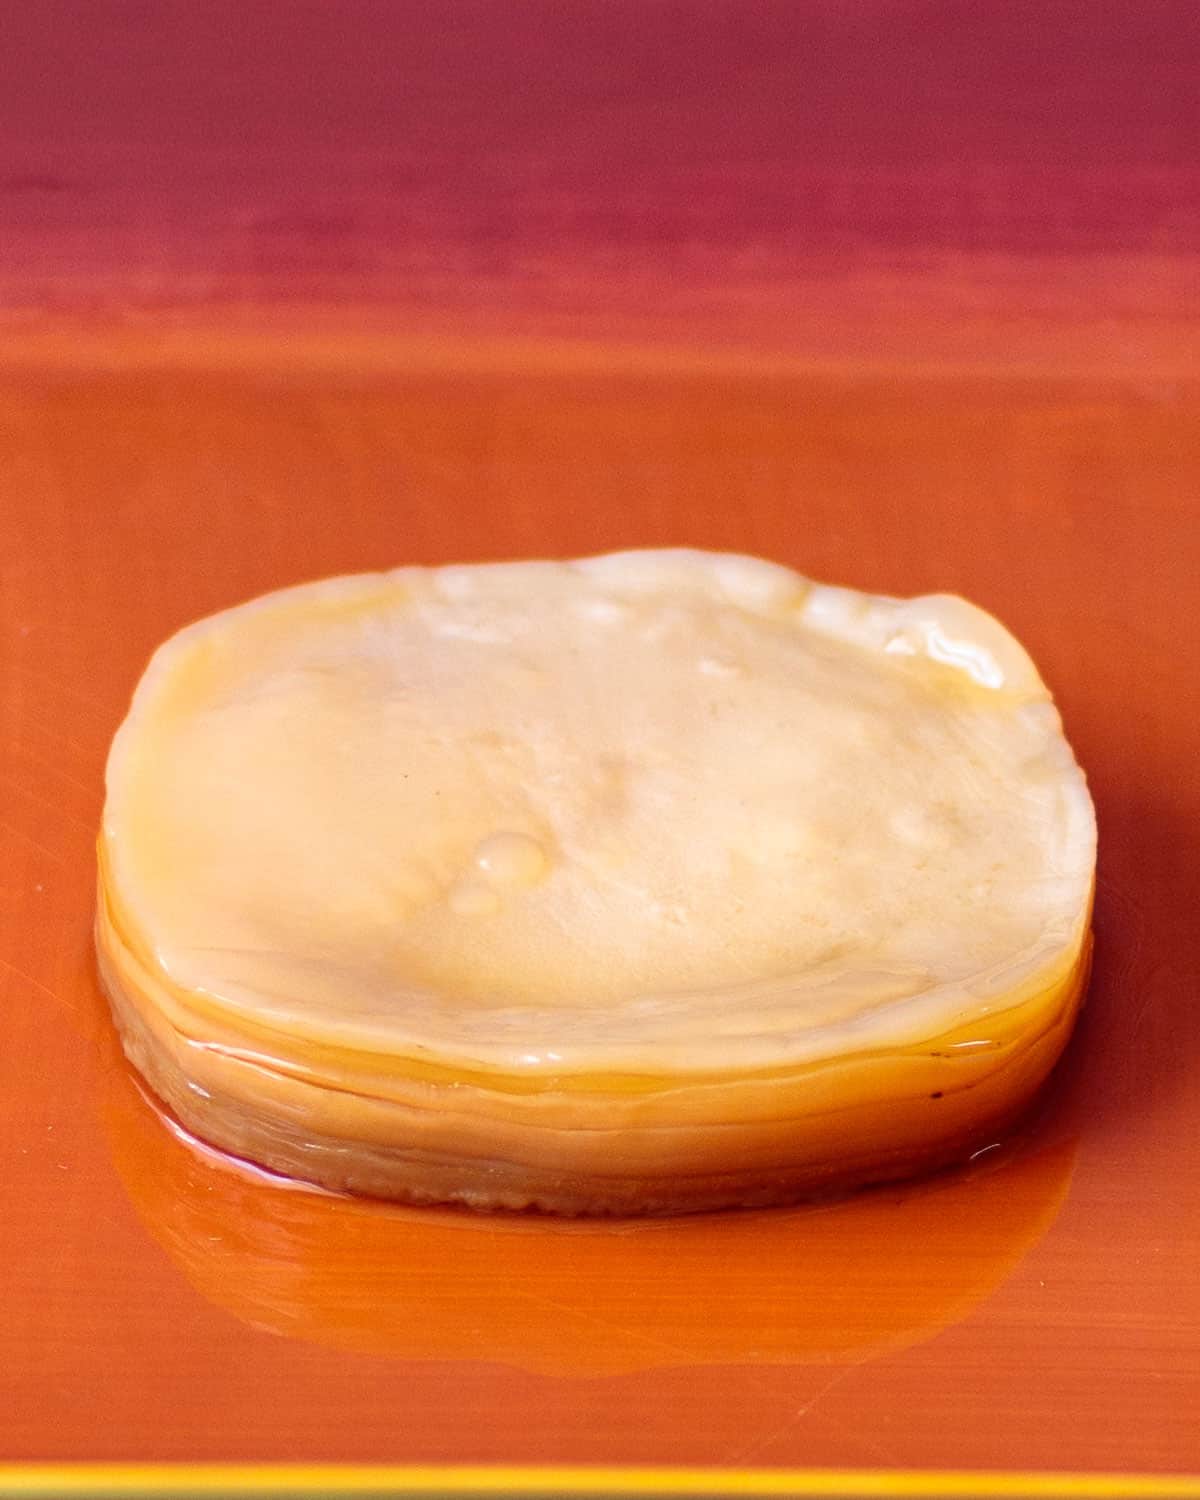
Whether you call this rubbery disc beautiful or beastly, a SCOBY is your ticket to the best tasting and most affordable kombucha you have ever had. Plus, it can be used to make many future batches of gut-healthy brews.
In a sense, it lives indefinitely because new top layers continue to grow. It's fun to know the older layers can be peeled off the bottom and given to friends to start their own homemade kombucha.
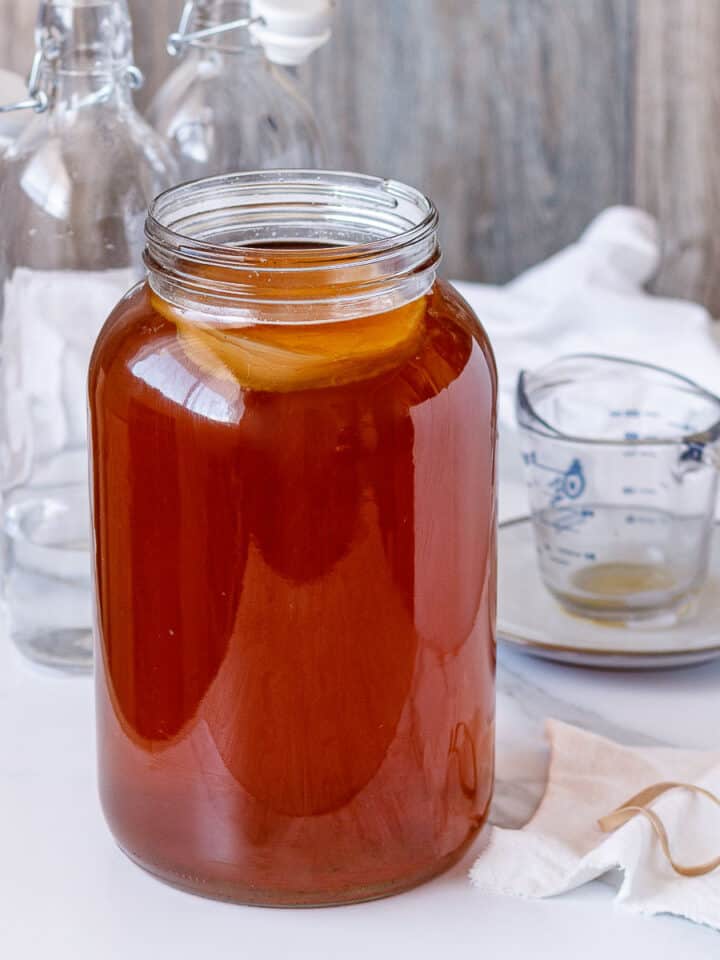
Weeks 1-3
It's fascinating to watch a newly forming SCOBY grow. First, it appears out of nowhere as a jelly-like film floating at the top of your jar.
Then, it gets even weirder as it continues growing into an opaque, rubbery disk that takes on the shape of the container it is grown in.
You can use your SCOBY when it's ¼ to ½ inch thick or let it develop longer as you like.
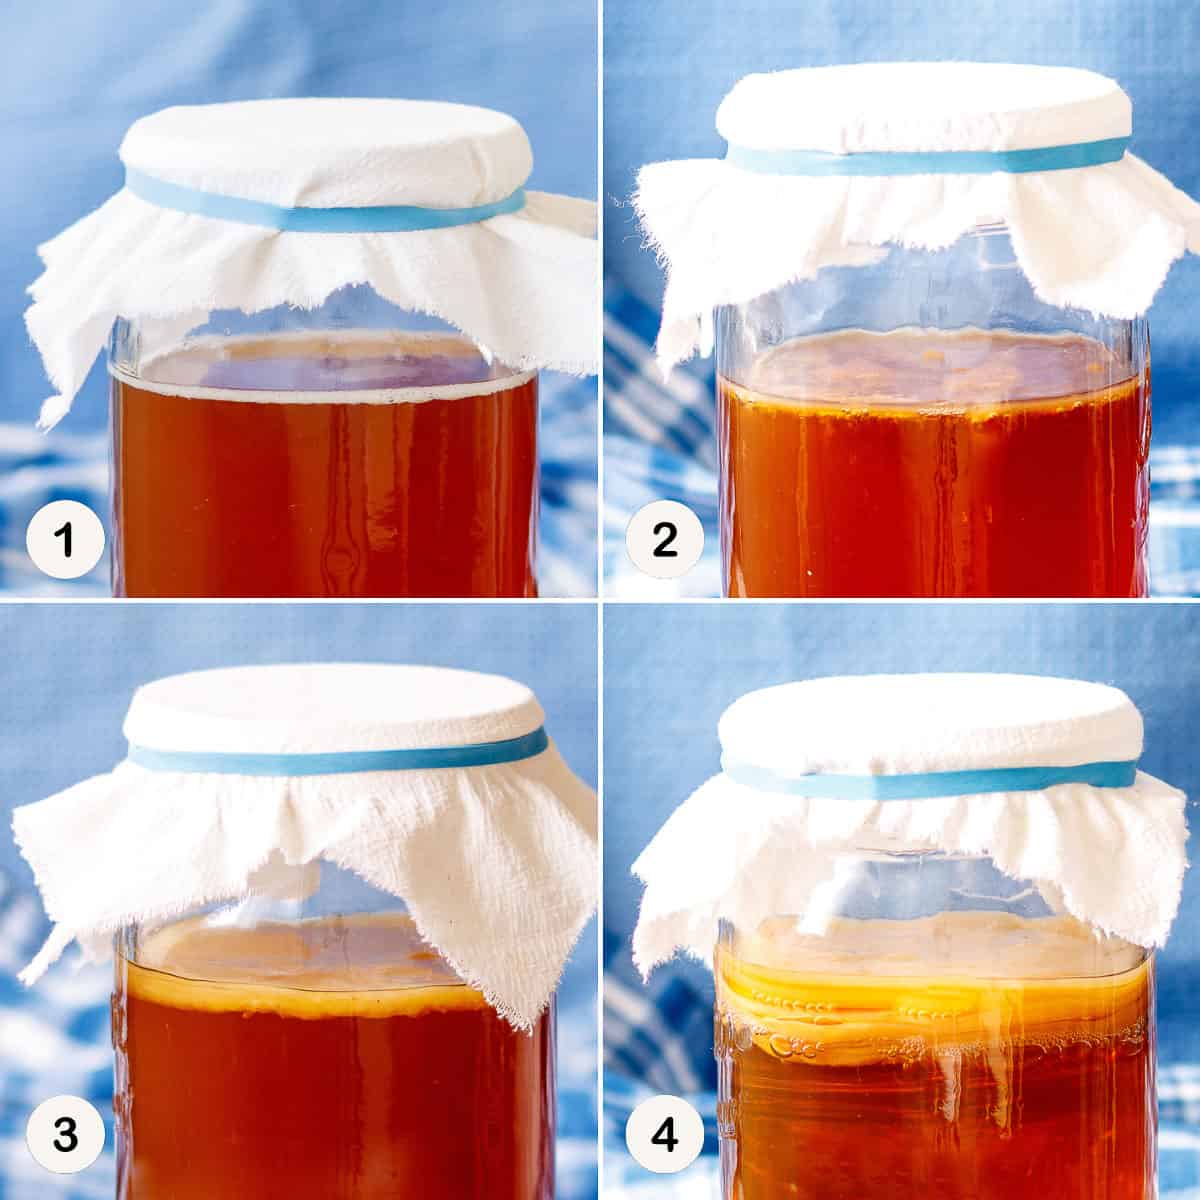
- Day 1
- Day 7
- Day 14
- Day 21
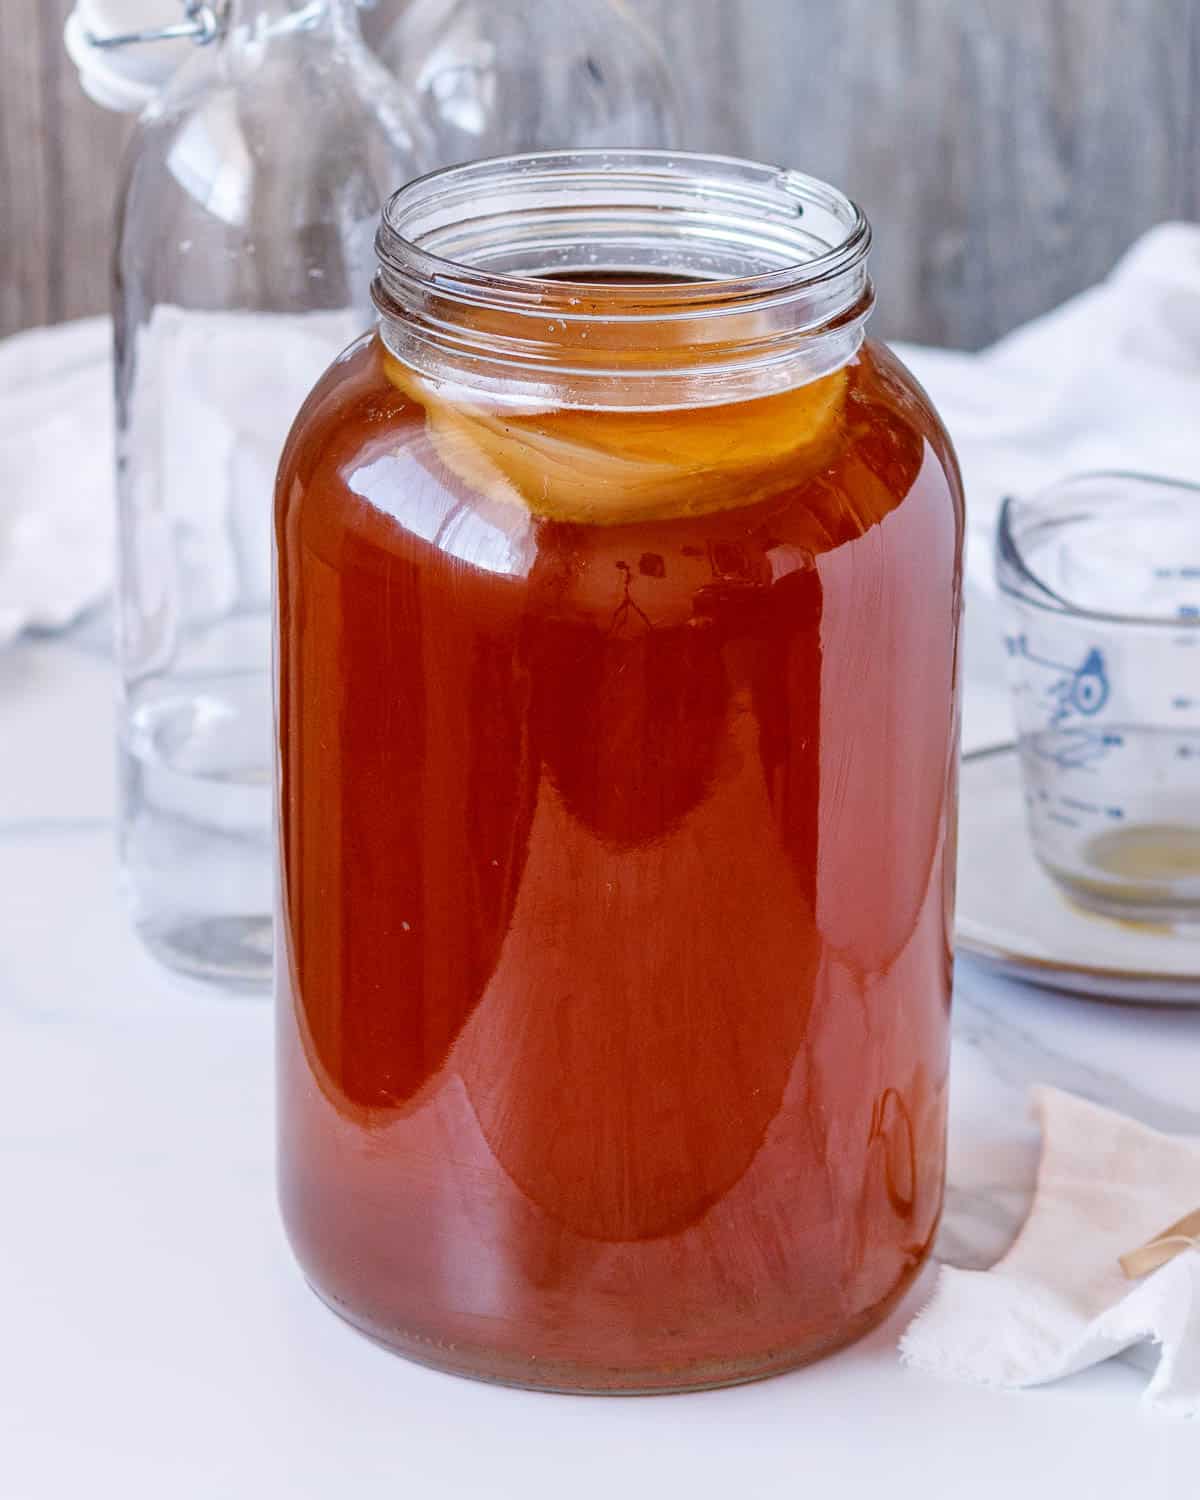
Help - my SCOBY sank
SCOBYs sometimes sink to the bottom of the jar, especially when you transfer them to brew kombucha in a new container. Don't worry it won't harm them or hurt the brewing process.
A brand new baby will form at the top of the jar and grow to fit the new container. This seals off the top of the liquid and helps keep beneficial microbes in and bad bacteria out.
How to use
Once your SCOBY is ready you can use it to brew kombucha at home. My post on Brewing Kombucha For Pennies gives you everything you need to know to brew a gallon of cost-saving kombucha rich in antioxidants and live probiotics.
For now, here's a list with a short summary of the steps:
- Brew a fresh batch of sweetened tea.
- Cool and pour tea into a large jar.
- Add a SCOBY and its growing liquid to the jar.
- Cover the jar with a cloth and a rubber band.
- Place in a dark cupboard for 1-2 weeks until ready.
Scoby Hotel
If you don't use your SCOBY right away to make kombucha or end up with extras, you might wonder how to store them.
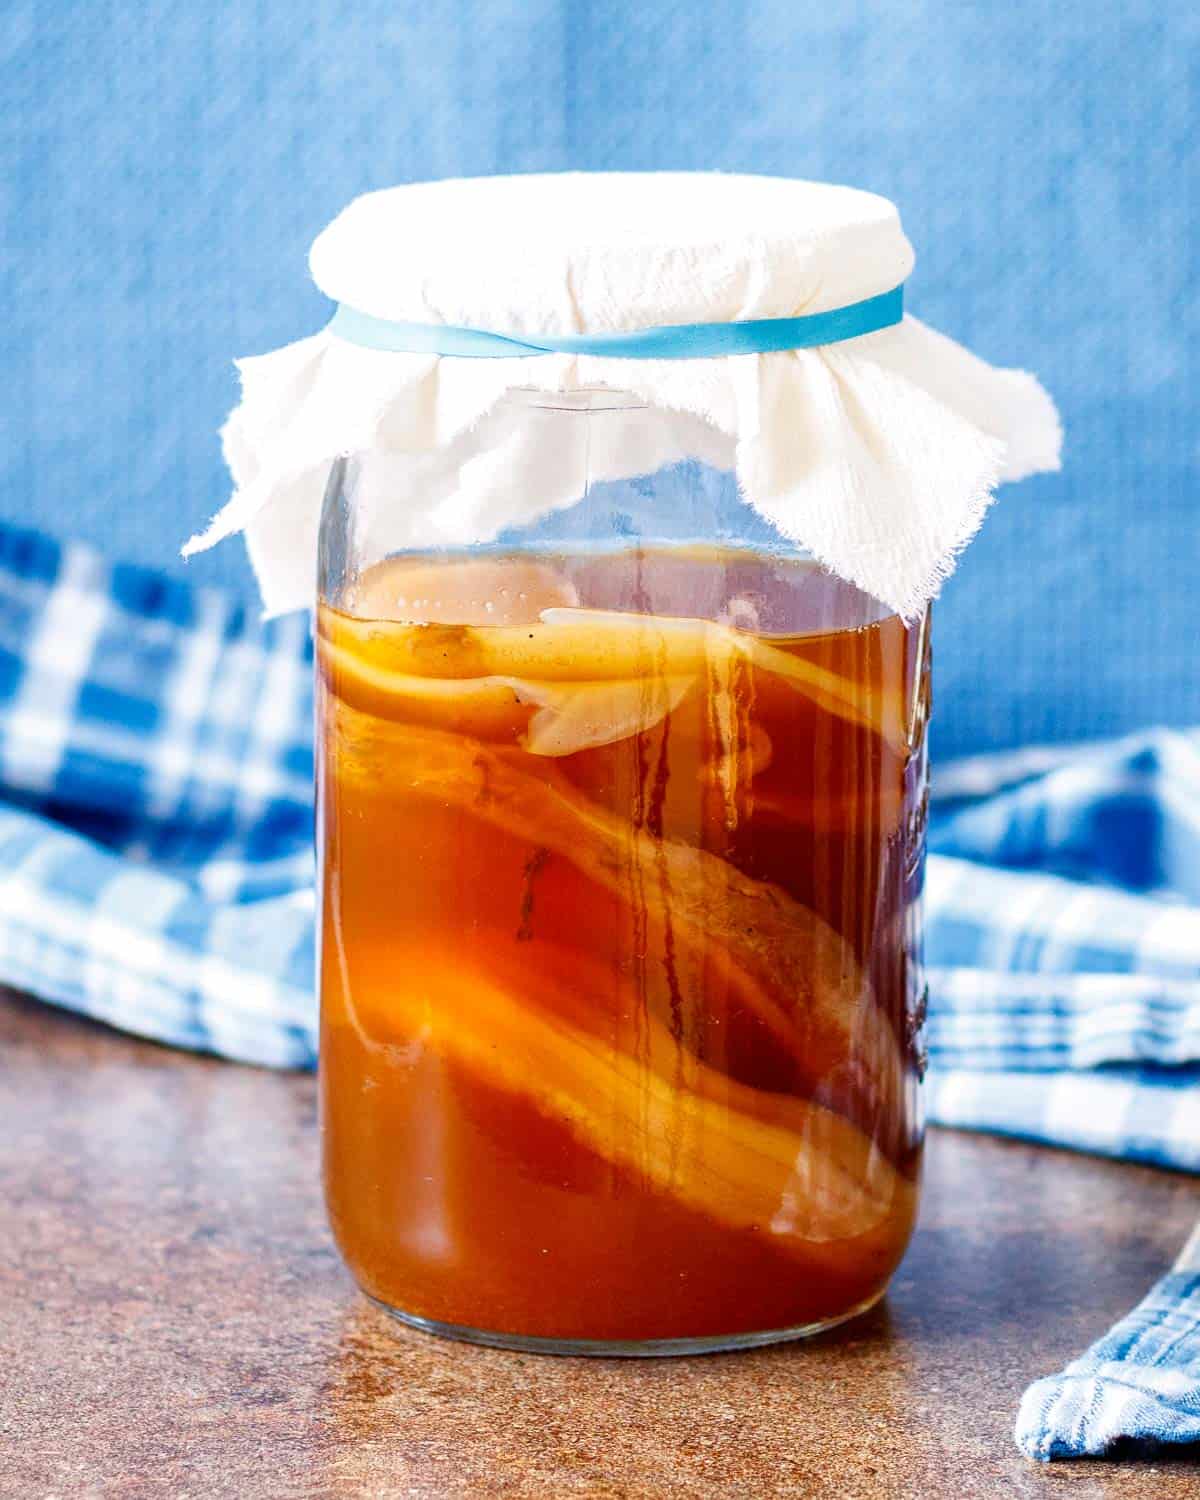
SCOBYs will continue to grow as long as they have enough tea and sugar to feed on. Thus, basically all you need to do is replenish the liquid they are growing in.
You can start a SCOBY hotel to maintain them until you are ready to brew kombucha or share the extras with friends.
Start by combining equal parts sweetened tea from the recipe below and plain kombucha. You can also mix sweetened tea with the liquid your SCOBY grew in. Make enough to fully submerge your SCOBYs in a jar.
Then, all you need to do is cover the jar and place it in a cupboard away from direct light just like you did when growing a new kombucha mother.
Expert tips
Equipment
- Use clean equipment with no traces of cleaners, mold, or bacteria.
- Use a tight-weave cotton cloth that breathes but keeps small insects out.
Ingredients
- Use bottled spring water or filtered water without chlorine or additives.
- Use unflavored black tea that is not decaffeinated.
- Use plain, unflavored kombucha starter liquid.
- Make sure your kombucha is raw with live bacteria and not pasteurized.
Preparation
- Cool tea and sugar mixture to lukewarm or less before combining with kombucha.
- Temperatures below 60 degrees and above 90 degrees will slow or destroy SCOBYs.
- Store jar in a dark cupboard away from light.
- Check as often as you like, but avoid jostling or moving the jar while SCOBY grows.
- Scoby is ready when it's ¼ an inch thick, but it's fine to let it grow thicker if you like.
Storage
- Don't refrigerate or freeze SCOBYs.
- Instead, store them in a SCOBY hotel, as described in this post and recipe card below.
FAQ
Yes. GTS Living Foods answers questions on their website and describes how their kombucha is made from organic, raw ingredients in a heat-free process that preserves living cultures.
Yes, all the teas from Camellia sinensis, including green, white, and black varieties are excellent for brewing kombucha. Some people prefer a mix of equal parts green and black. For the best results, teas should not be decaffeinated. Caffeine, as well as the other compounds in these traditional teas provide the necessary compounds for growing a SCOBY. Make sure the tea is pure and not flavored, preferably organic.
Yes, it's fine to cut a SCOBY with scissors or a knife. You may want to do this to fit it into the jar you are using to brew kombucha. It may float or sink, but new layers will grow at the top of your vessel.
Yes, as long as your SCOBY doesn't have spots of mold or a fuzzy coating, then brown, gritty bits from tea and shaggy edges are fine. You can find a very helpful visual guide to unhealthy SCOBYs at Kombuchakamp.com as well as kombucha brewing supplies including ready-to-go SCOBYs.
Ready to grow a SCOBY with the recipe below? From there, you can use it to Brew Kombucha For Pennies. Effervescent, refreshing, and addictive are words that describe this second-ferment flavored and carbonated kombucha you will definitely want to make.
Related recipes
Enjoyed this post? Leave a comment, rate ⭐⭐⭐⭐⭐ it, and follow @poppyswildkitchen on Instagram. Aloha!
📖 Recipe
How To Make A Scoby - Simple Steps
Ingredients
- 1 cup filtered water or purified bottled water
- 1 TB loose leaf black tea or two tea bags
- 1 TB organic raw sugar
- 1 16 oz. bottle of plain, raw, unpasteurized kombucha
Instructions
Make sweet tea
- Bring 1 cup filtered water or purified bottled water to a boil and stir in 1 TB organic raw sugar to dissolve. Add 1 TB loose leaf black tea or two tea bags. Remove from heat and let steep until lukewarm or cooler.
Combine sweet tea and kombucha
- Pour 1 16 oz. bottle of plain, raw, unpasteurized kombucha into a wide-mouth jar that holds at least 3 cups.
- Add cooled tea to kombucha and cover jar with a cut square of breathable white cloth. Secure cloth with a rubber band.
Grow SCOBY
- Tuck the jar into a dark cupboard. A warm location 70-85 degrees is best. Check as often as you like, but avoid jostling or moving the jar. After several days you should see a jelly-like film growing on top of the tea.
- Once the SCOBY starts forming, it will gradually thicken and form a firm white disc on top of the tea mixture.
- If no film has formed in two weeks, or the mixture smells bad or has mold, toss it out and make a new batch.
- When your SCOBY is ¼ inch to ½ inch thick it is ready to brew kombucha. Climate can cause significant variations, but typically a scoby is ready in 10 days to 3 weeks time.
Store SCOBY
- Don't refrigerate or freeze SCOBYs. Instead, store them in a SCOBY hotel, as described in the recipe notes below.
Notes
- Remove shaggy strings, tea residue, and yeast strands from SCOBYs. You can trim edges or rinse in non-chlorinated water if desired.
- Then brew tea with 1 cup of water, 1 TB of black tea, and 1 TB of raw sugar. (Double amount for larger hotels.) Cool until lukewarm or less. Mix with an equal amount of plain, raw kombucha.
- Pour the mixture into a wide-mouthed jar. Gently slide SCOBYs into the jar. Cover with a plain cotton cloth and a rubber band. Store in a dark cupboard in a cool location, but at least 60 degrees.


Colleen says
I'm curious, is TB short for tablespoon? Thanks in advance!
Poppy Hudson says
Yes. Aloha
Laurie Bellino says
I'm trying this today, but unfortunately there is no raw kombucha in my area or even on amazon, to purchase.So i'm using the plainest one I could find at the store which is ginger and lemon. Not sure if you tried anything like this and it still worked. I'm praying it works. Otherwise I'll have to purchase a scoby. Thanks.
Poppy Hudson says
Aloha Laurie, Yes I,ve been in that posistion before and it worked!