You can learn how to brew kombucha with a few simple ingredients in your own home. Did you know you can brew that kombucha for pennies and not dollars a serving? I discovered this years ago after getting hooked on this fabulous, fizzy, probiotic beverage.
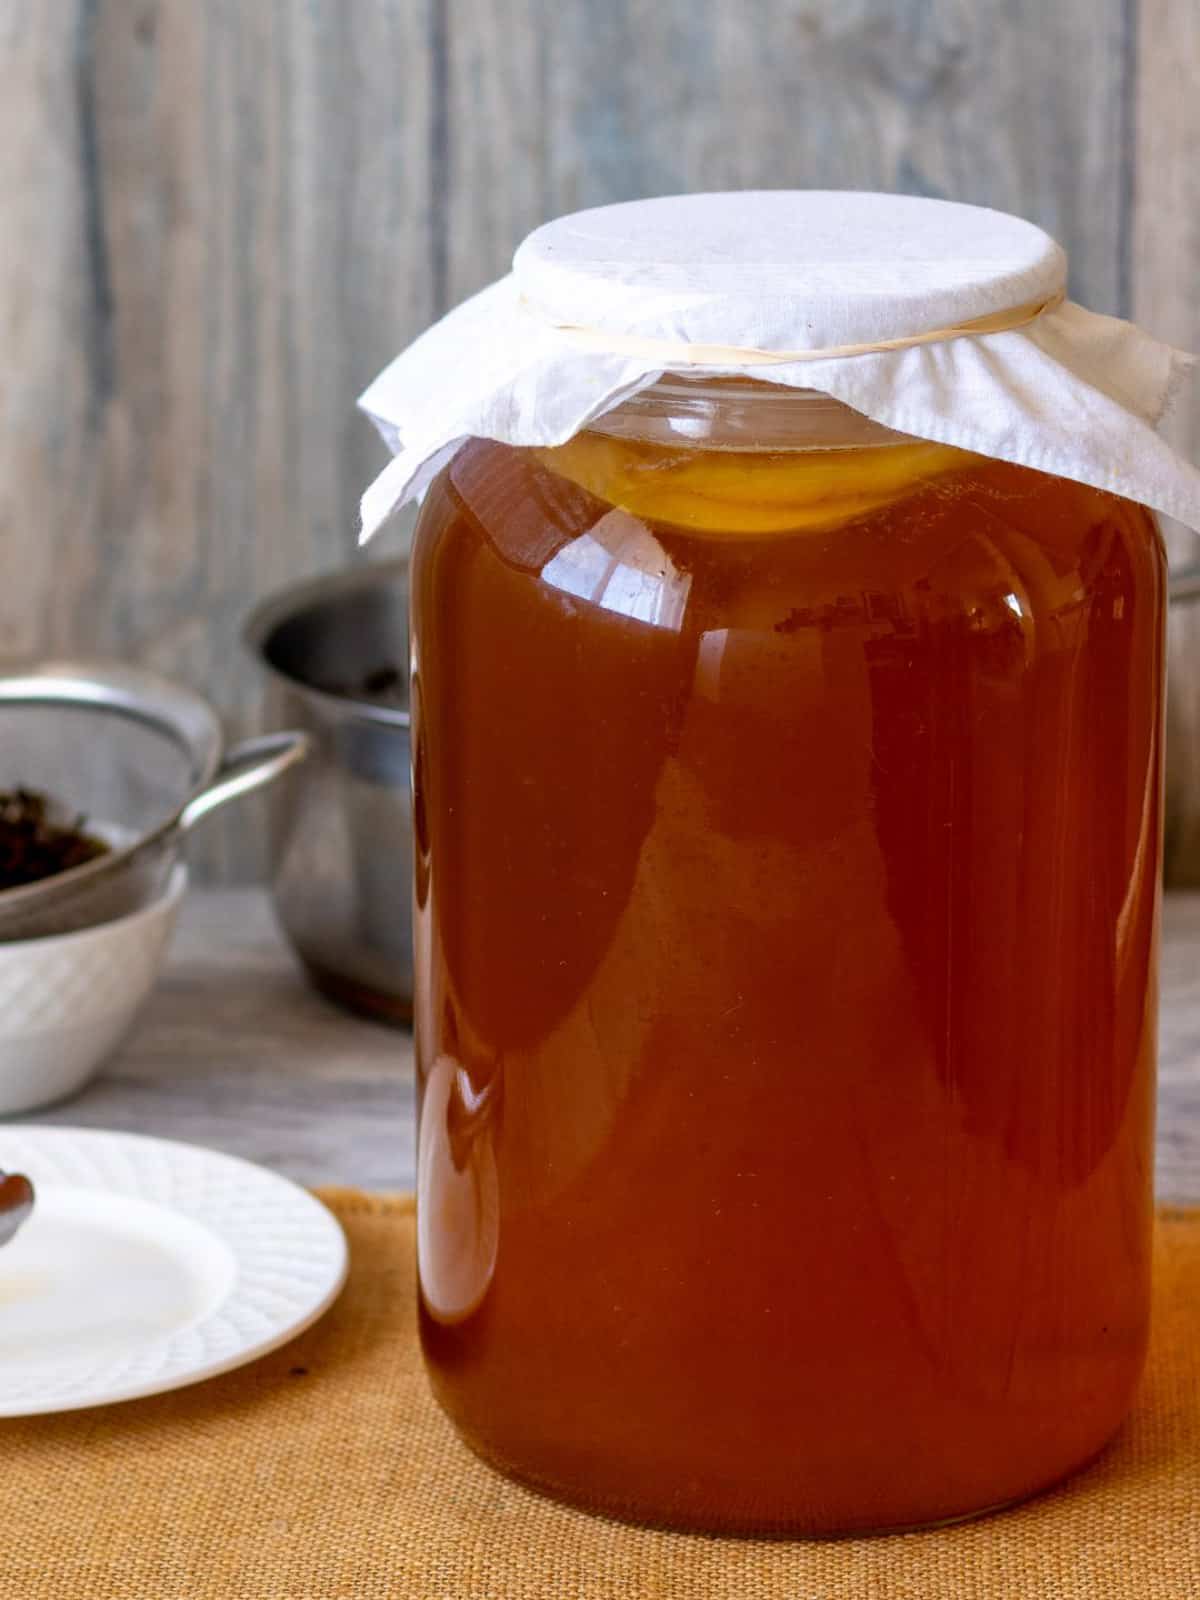
Over time, I've shared with friends how to brew kombucha in a one-gallon jar as well as How To Make a SCOBY from scratch. Now they are happily brewing and saving significant money.
Plus, they have all remarked on how much better their batch tastes than store-bought fermented drinks, which can be harsh and vinegary by comparison.
This recipe is a first-ferment kombucha that can be tailored to the level of tartness you like. It's also the ideal starter for extra-fizzy, Second-Fermentation Fruit-Flavored Kombucha.
Jump to:
🏆 Top tip
Wondering how to pronounce kombucha? The widely accepted way is kuhm·boo·chuh, and sounds like this audio clip.
⭐ Why it works
- One-gallon batch makes it manageable for a family.
- Simple instructions demystify the process of how to brew kombucha.
- Mellow flavor customizable to just the tartness you like.
- Live probiotics for real, gut-healthy benefits.
📋 Ingredients
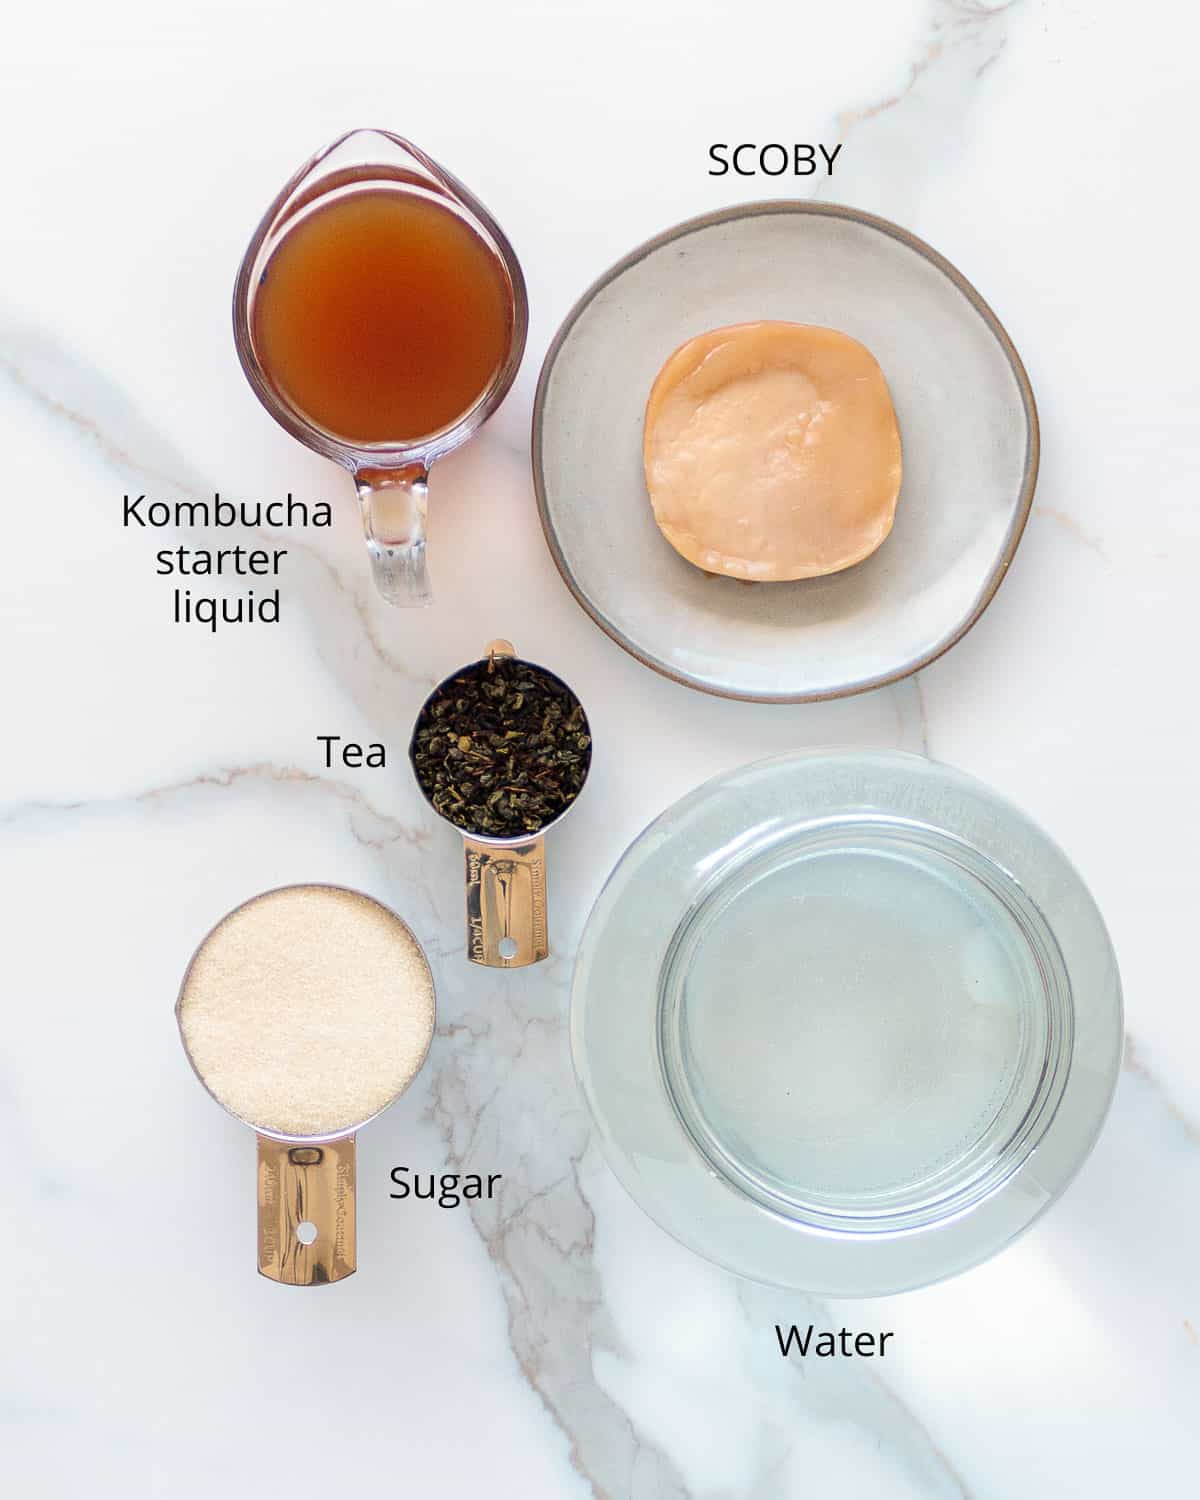
- Starter liquid - Plain, unflavored, unpasteurized kombucha, homemade or store-bought.
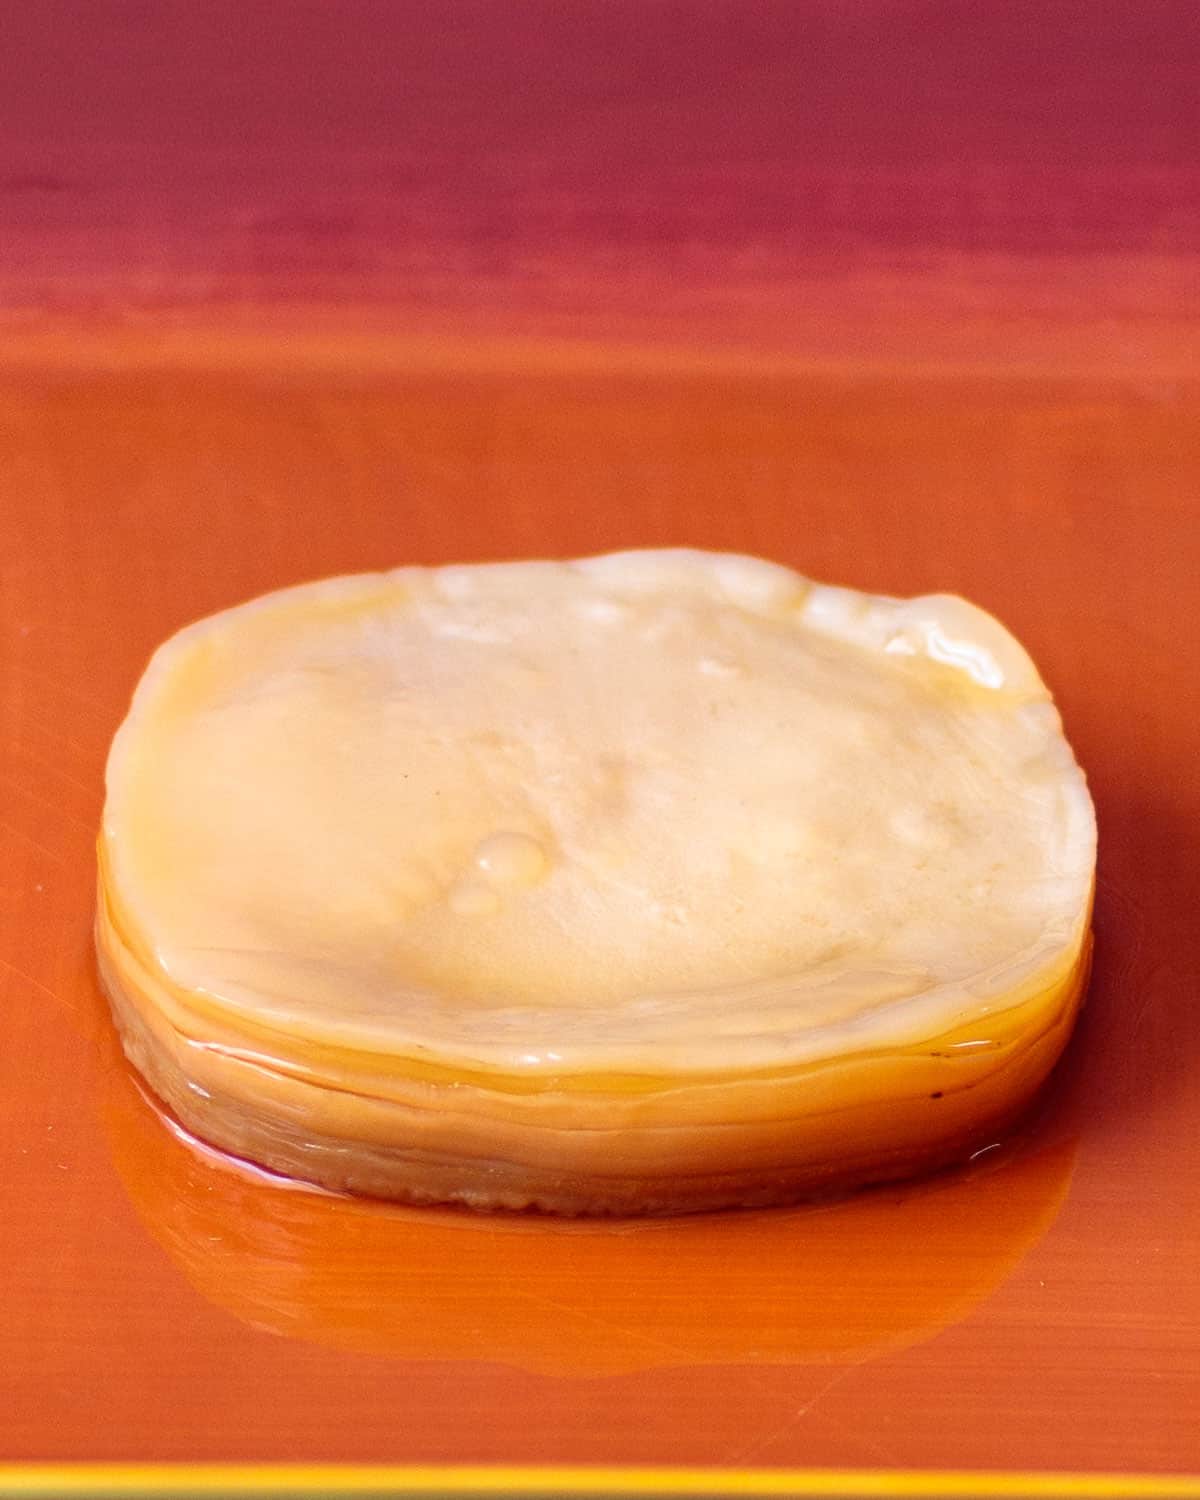
- SCOBY - Purchased, obtained from a friend, or grow your own.
- Water - Filtered or purified bottled water without chlorine.
- Sugar - Organic evaporated raw cane sugar.
- Tea - Unflavored loose-leaf or natural tea bags. See tips on varieties below.
Don't worry if you're wondering where to get a SCOBY with starter liquid. These days they are widely available online from reliable sellers like Brew Your Bucha and Fermentaholics.
🥣 Equipment
- Saucepan - To boil sugar and tea in water.
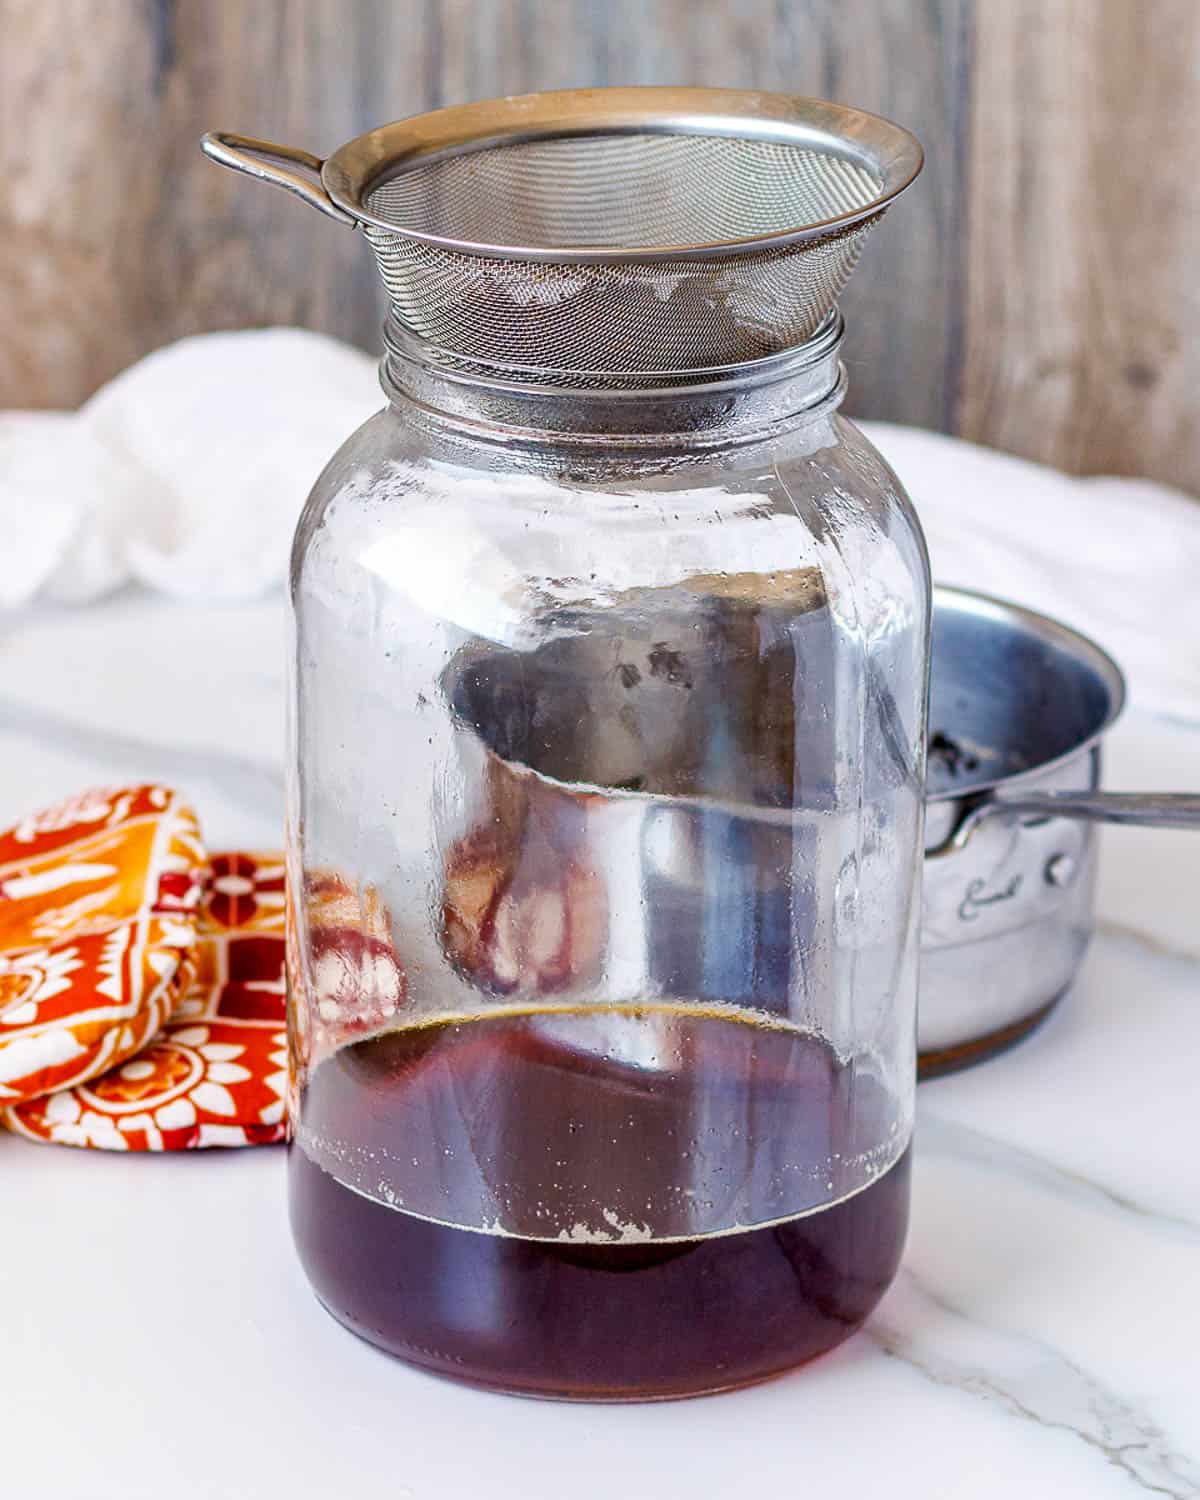
- Strainer - A fine mesh standard kitchen variety.
- Large jar - One gallon or two half-gallon-sized jars.
- Cloth - Tight-weave, breathable cotton cloth to fit the top of the jar.
- Rubber band - Large size to secure cloth on top of the jar.
🥄 Steps
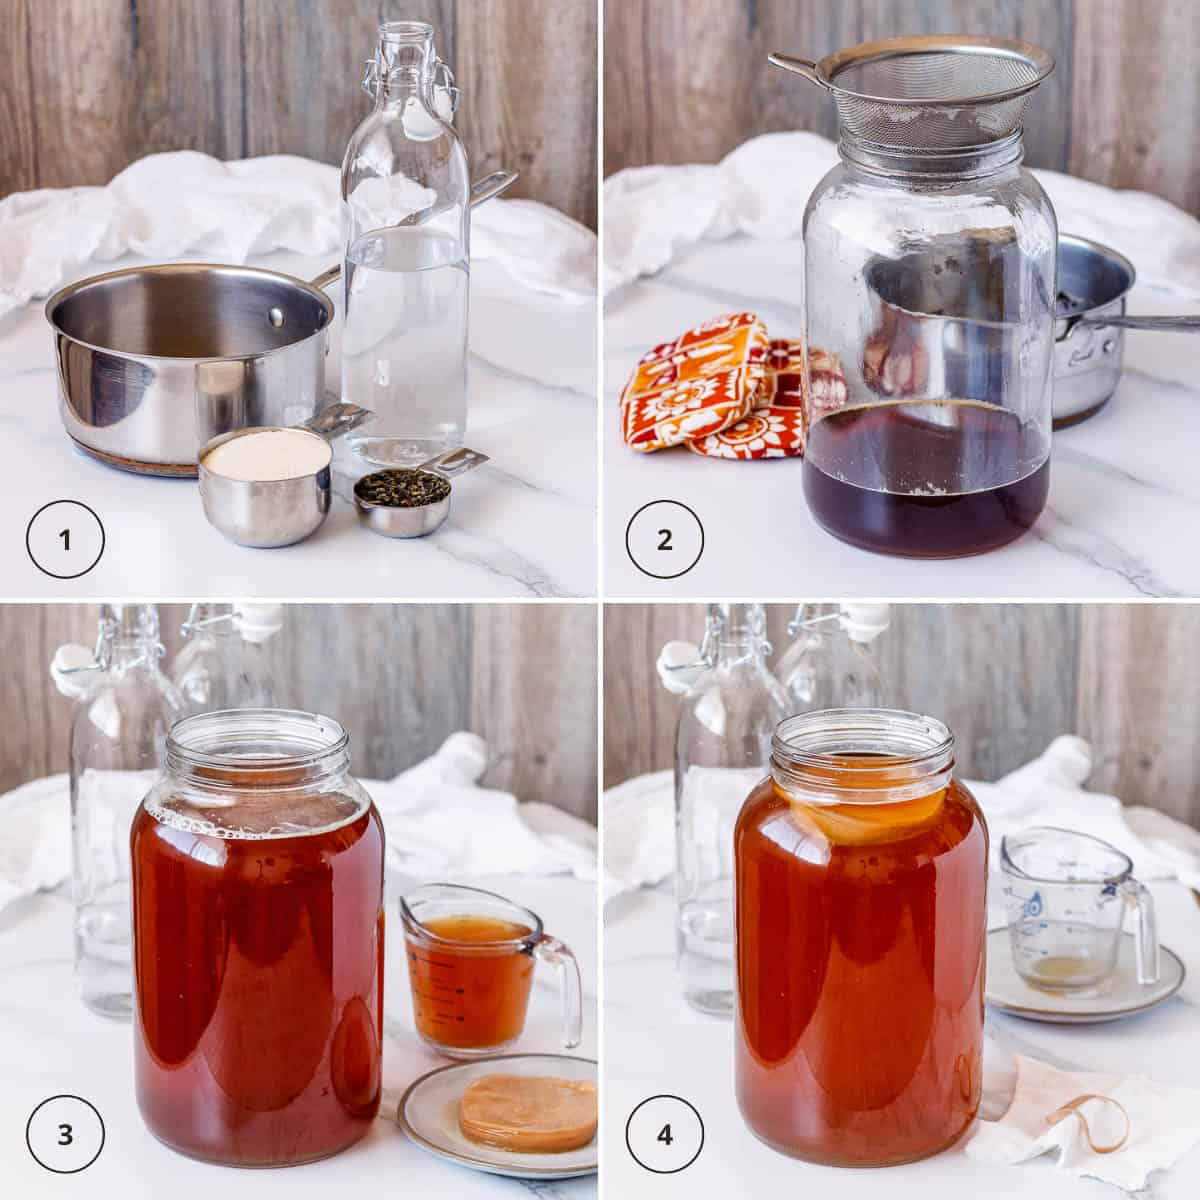
- Boil water with tea and sugar.
- Cool and strain tea.
- Combine tea, water, and starter kombucha in a gallon jar.
- Add SCOBY at the top of the jar, cover it with a cloth, and ferment for 1-3 weeks.
🥤 The craving
I still remember the first bottle of store-bought kombucha I tasted. Hubby and I were vacationing at our favorite hot springs resort. That summer, the heat was shimmering in the upper 90’s.
One day we visited the on-site health food store on a mission to quench our thirst. We were looking for something new and bubbly to do the trick.
Needless to say, that first icy-cold bottle, lightly sweetened with Asian pear and spices, made a lasting impression.
Once we returned from vacation, I craved that amazing kombucha. When I read about the health benefits of this sparkling beverage, I was further driven to learn how to brew kombucha at home.
💵 Saving money
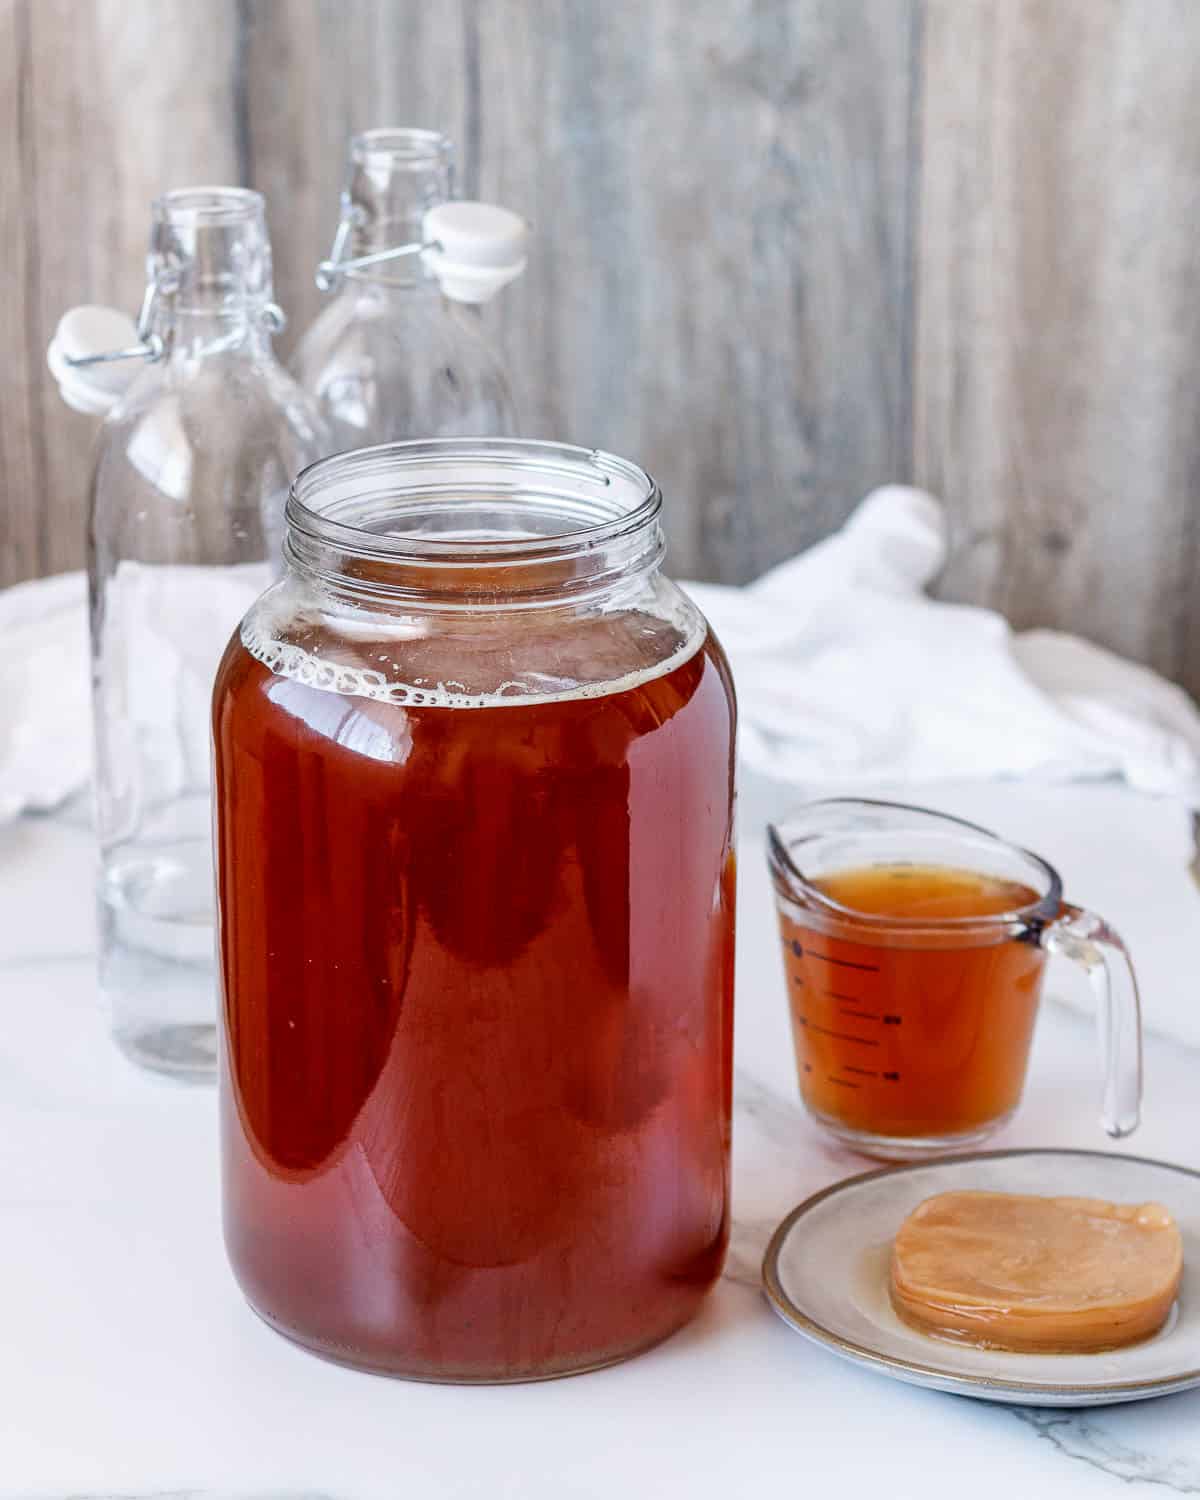
Even though that first exquisite probiotic drink tasted worth every penny, it wasn’t cheap. Furthermore, the expense didn’t end with our vacation since I was completely hooked.
So, I started looking for an economical way to brew kombucha from scratch. Initially, the process was baffling. However, it didn’t take long to solve the mysteries of how to brew kombucha at home. Plus, guess what I discovered?
Not only can you reduce the cost of kombucha by brewing it yourself, but you can make it for pennies on the dollar.
When I crunched the numbers, calculating the cost of organic loose-leaf tea, organic raw sugar, and kombucha starter liquid, I was flabbergasted.
Now, you'll have to throw in a few bucks for your first batch if you don't grow your own SCOBY, but that's one more reason not to deprive yourself of this awesomely fun project.
I did the math over several times because I couldn’t believe it. Astonishingly, I discovered on average, you can make a 16-ounce bottle of plain homemade kombucha for less than 25 cents.
🌿 Best tea for kombucha
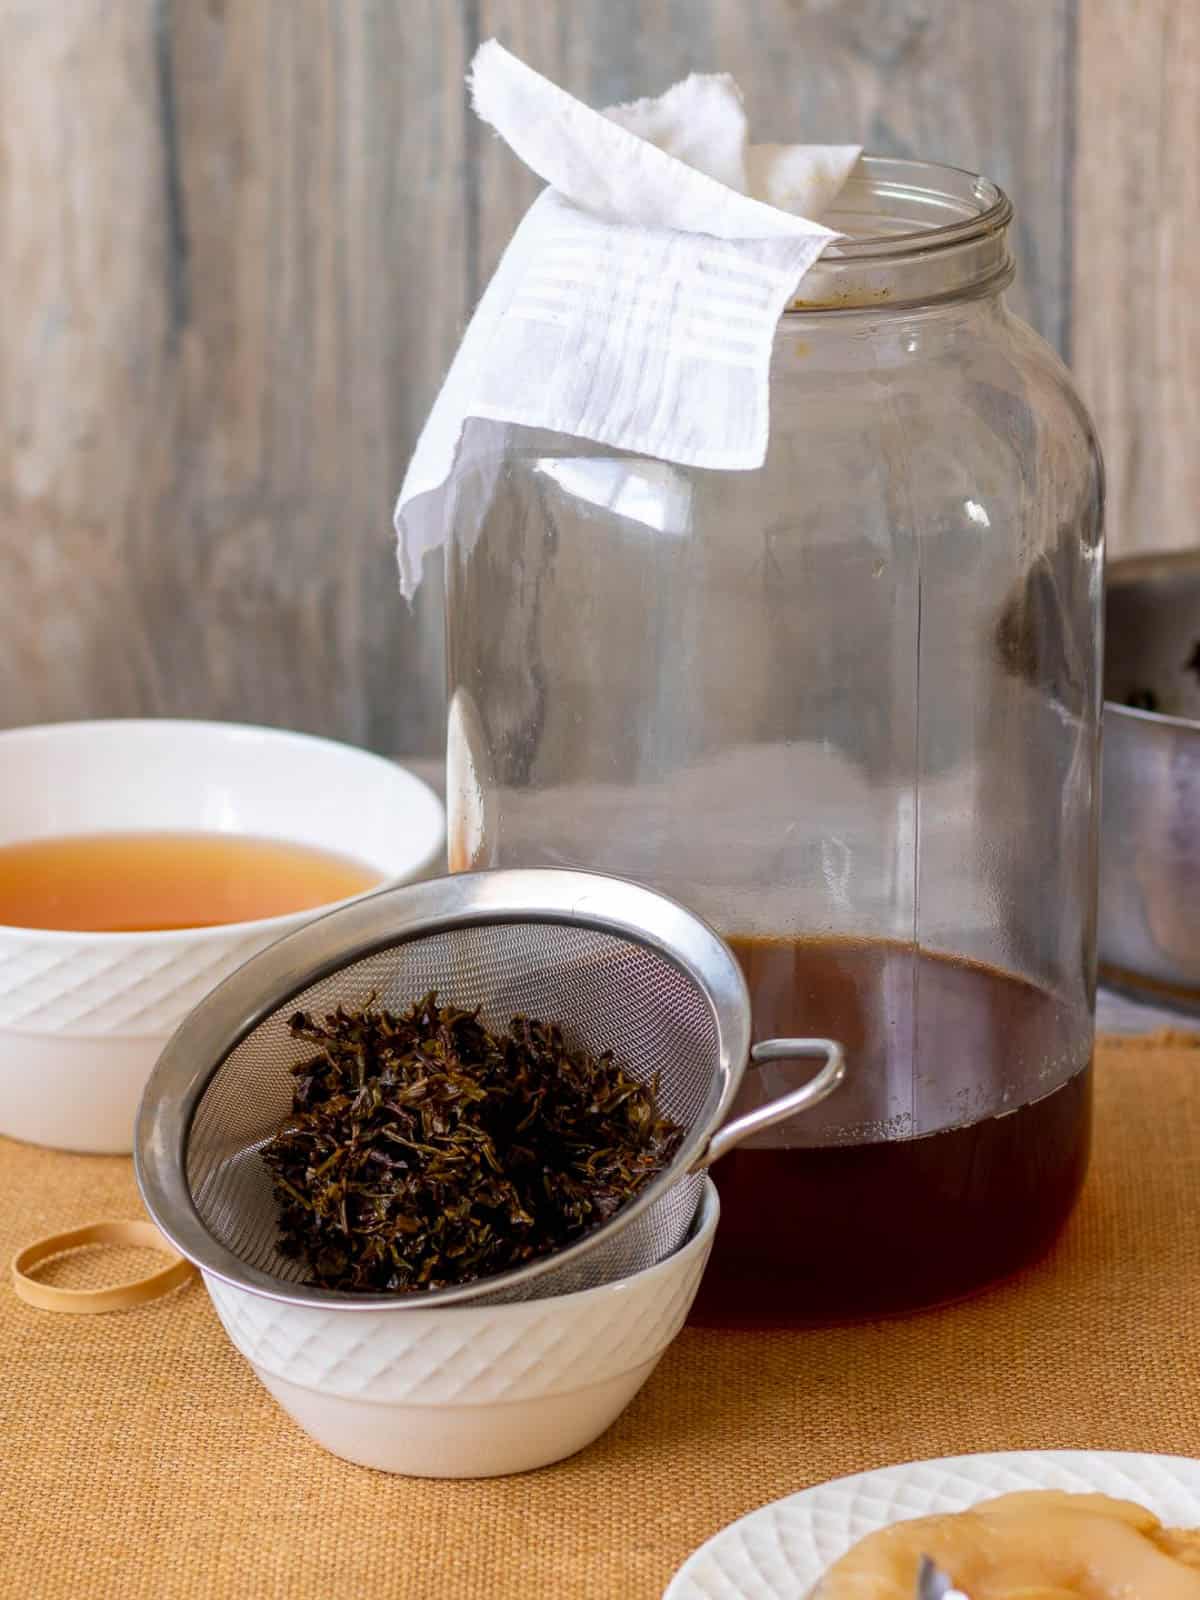
Before you learn how to brew kombucha, you'll want to consider what type of tea you use.
All teas from Camellia sinensis, including white, green, oolong, black, and Pu'er are excellent for brewing, and many people prefer a mix of equal parts green and black tea.
White tea produces a milder kombucha with the least caffeine, and green tea is said to grow healthier SCOBYs. So, go ahead and use a singular tea or experiment to find your favorite blend. I prefer an equal mix of organic green and black tea for the flavor and cost.
Caffeine, as well as the other compounds in camellia Sinensis tea, provide the unique, necessary nutrients that make it possible to brew kombucha with live probiotics. This is why herbal teas are not ideal.
While you can use alternatives like yerba mate and rooibos, there will be a higher chance of success and fewer surprises if you stick to the traditional use of camellia Sinensis.
Finally, make sure the tea you use to brew kombucha is pure and not flavored or mixed with any other ingredients.
⌛️ How long?
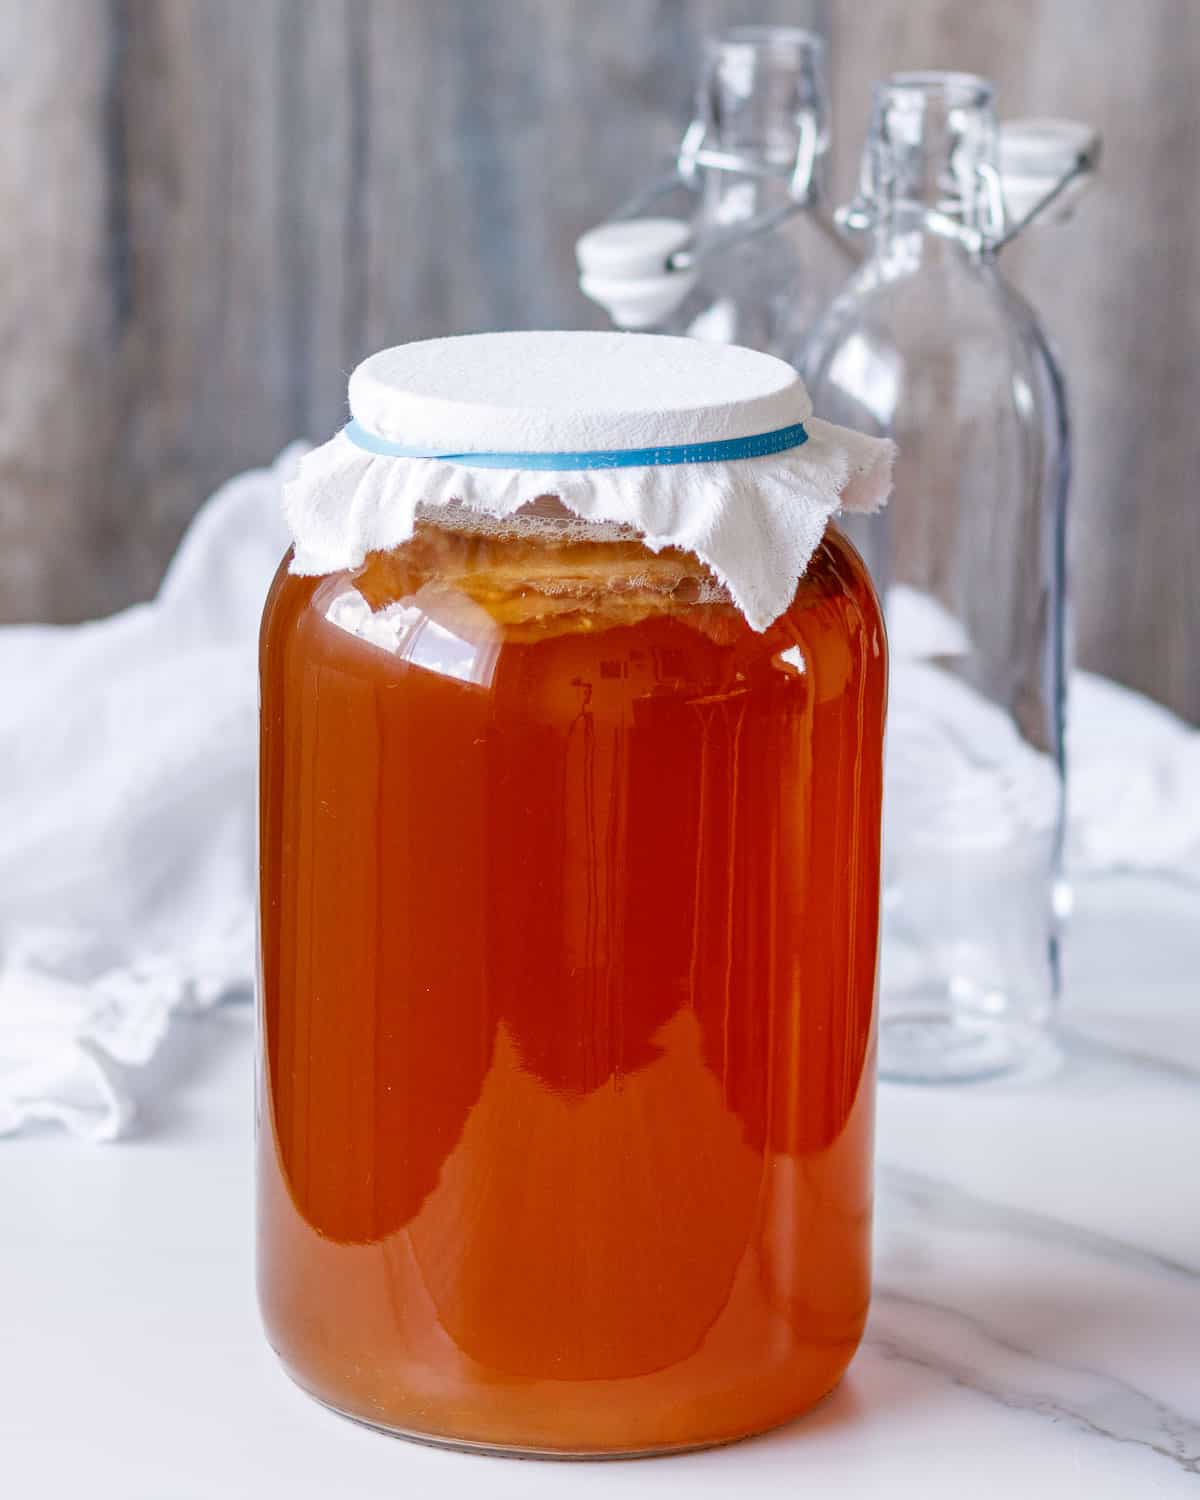
Once you place a cloth and rubber band over the top of your jar, how long you ferment your homemade kombucha is up to you. An equal balance of sweet and tart flavors is a good starting place.
Naturally, you'll want to wait long enough to develop gut-healthy, beneficial bacteria, but after that, you get to decide just how tangy you want your fermented tea to be.
Depending on how warm your environment is, a fully mature homebrew typically takes anywhere from 1 to 3 weeks.
🥭 Flavoring kombucha
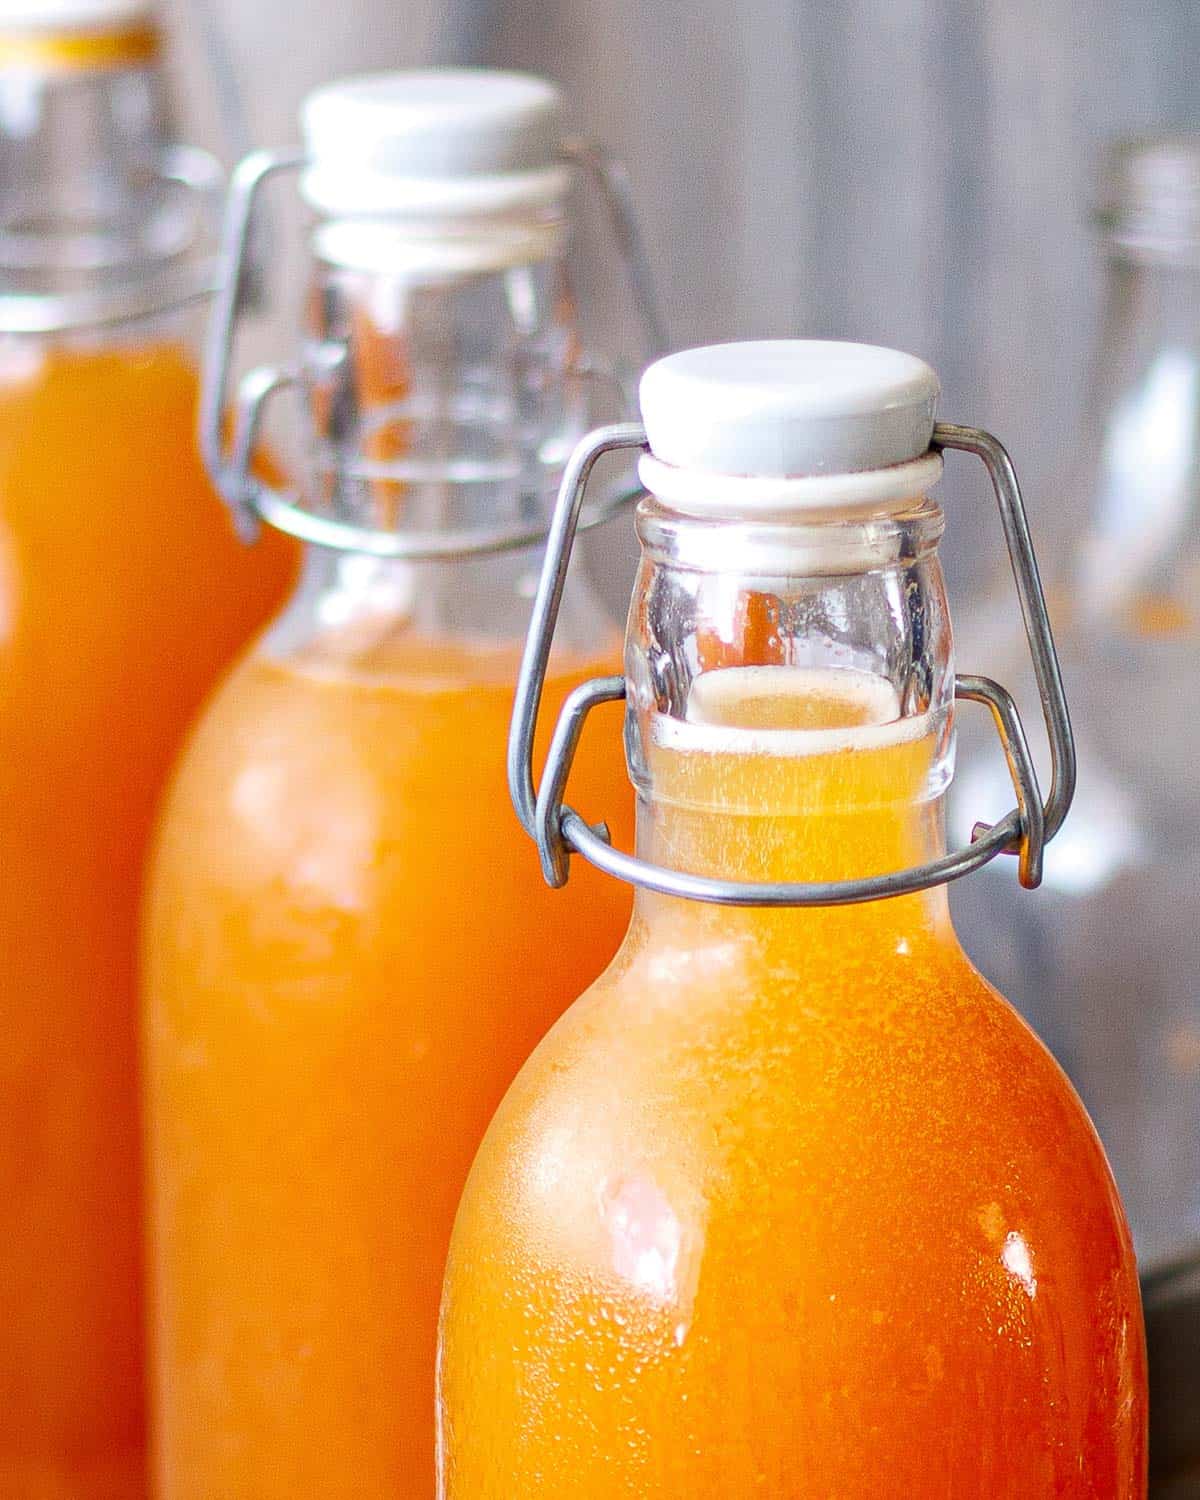
Homemade plain raw kombucha is delightful on its own. But you don't have to stop there. I always do a second fermentation with organic fruit for enhanced flavor and whopping natural carbonation.
I think ample bubbles increase kombucha’s refreshing quality tenfold. A second ferment is also a great way to use free or wild fruit and experience exotic flavors like pink guava.
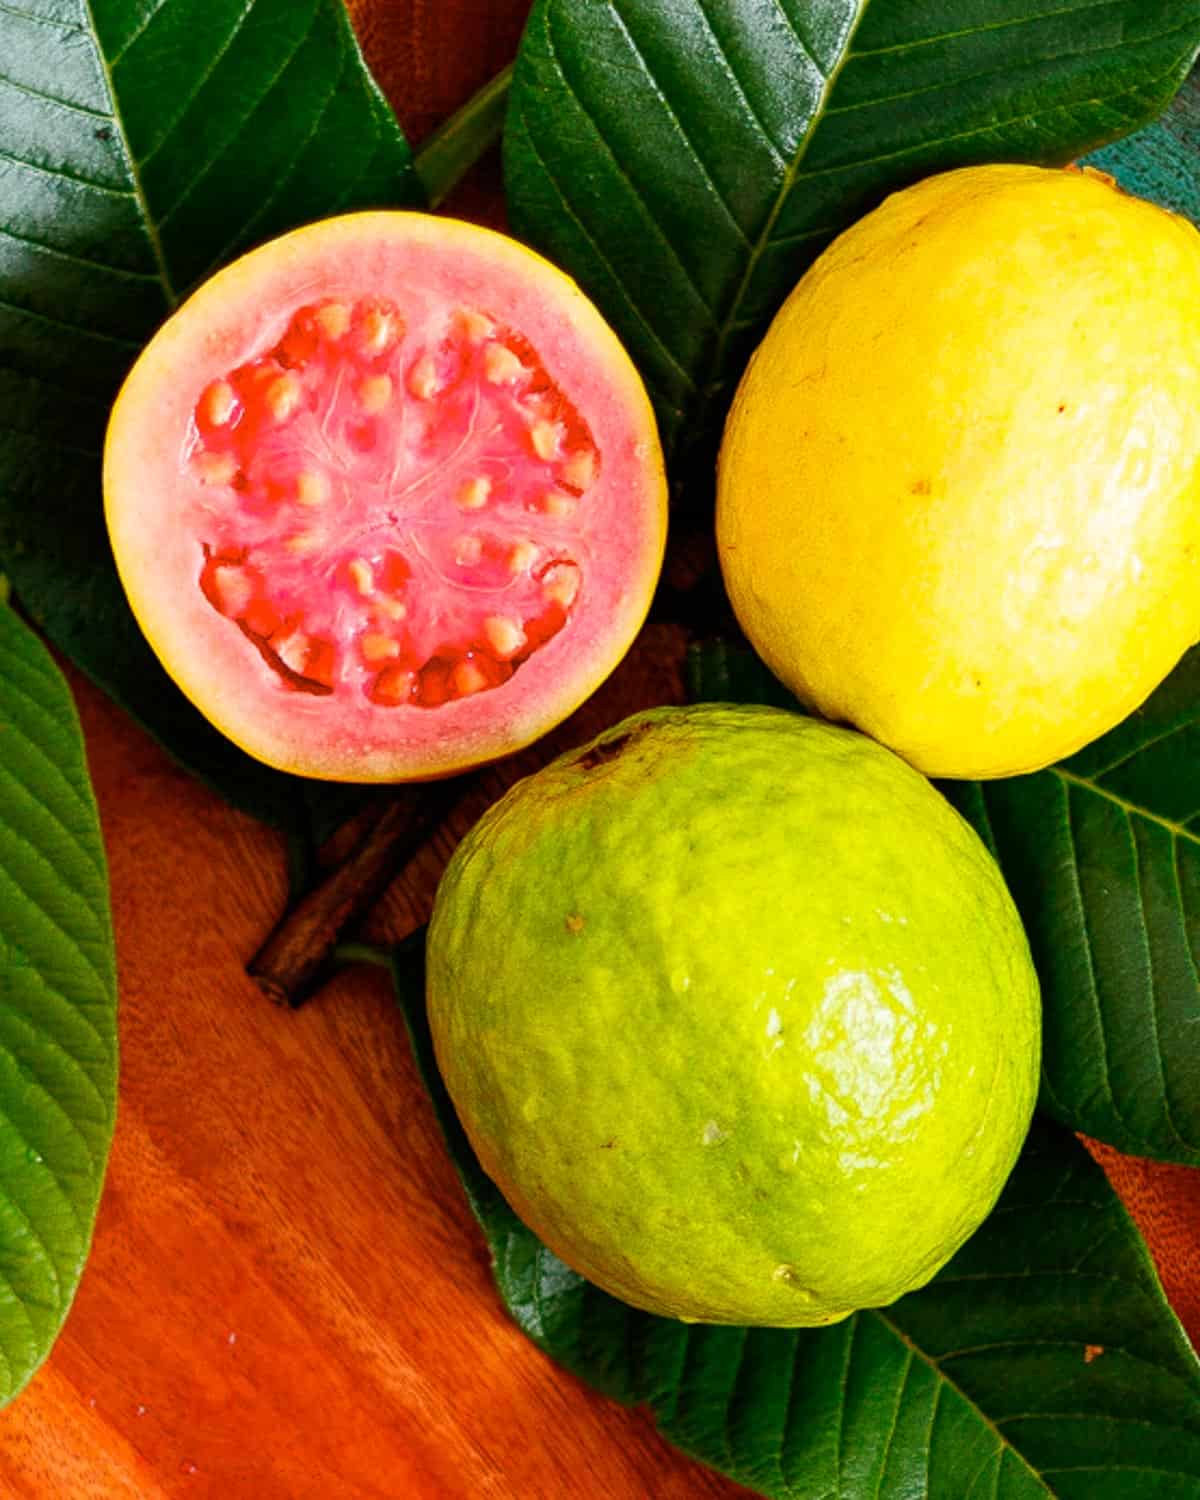
You'll be happy to know that once you have learned how to brew kombucha with this basic recipe, it's an easy follow to carbonate it with all sorts of refreshing flavors. You can read how to do this in my post on Flavoring Kombucha.
It's worth noting that even when I choose the most costly fruit from the market, the highest expense for our bubbly kombucha is 89 cents for a 16-ounce bottle. Isn't that a remarkable savings from buying kombucha at the grocery store?
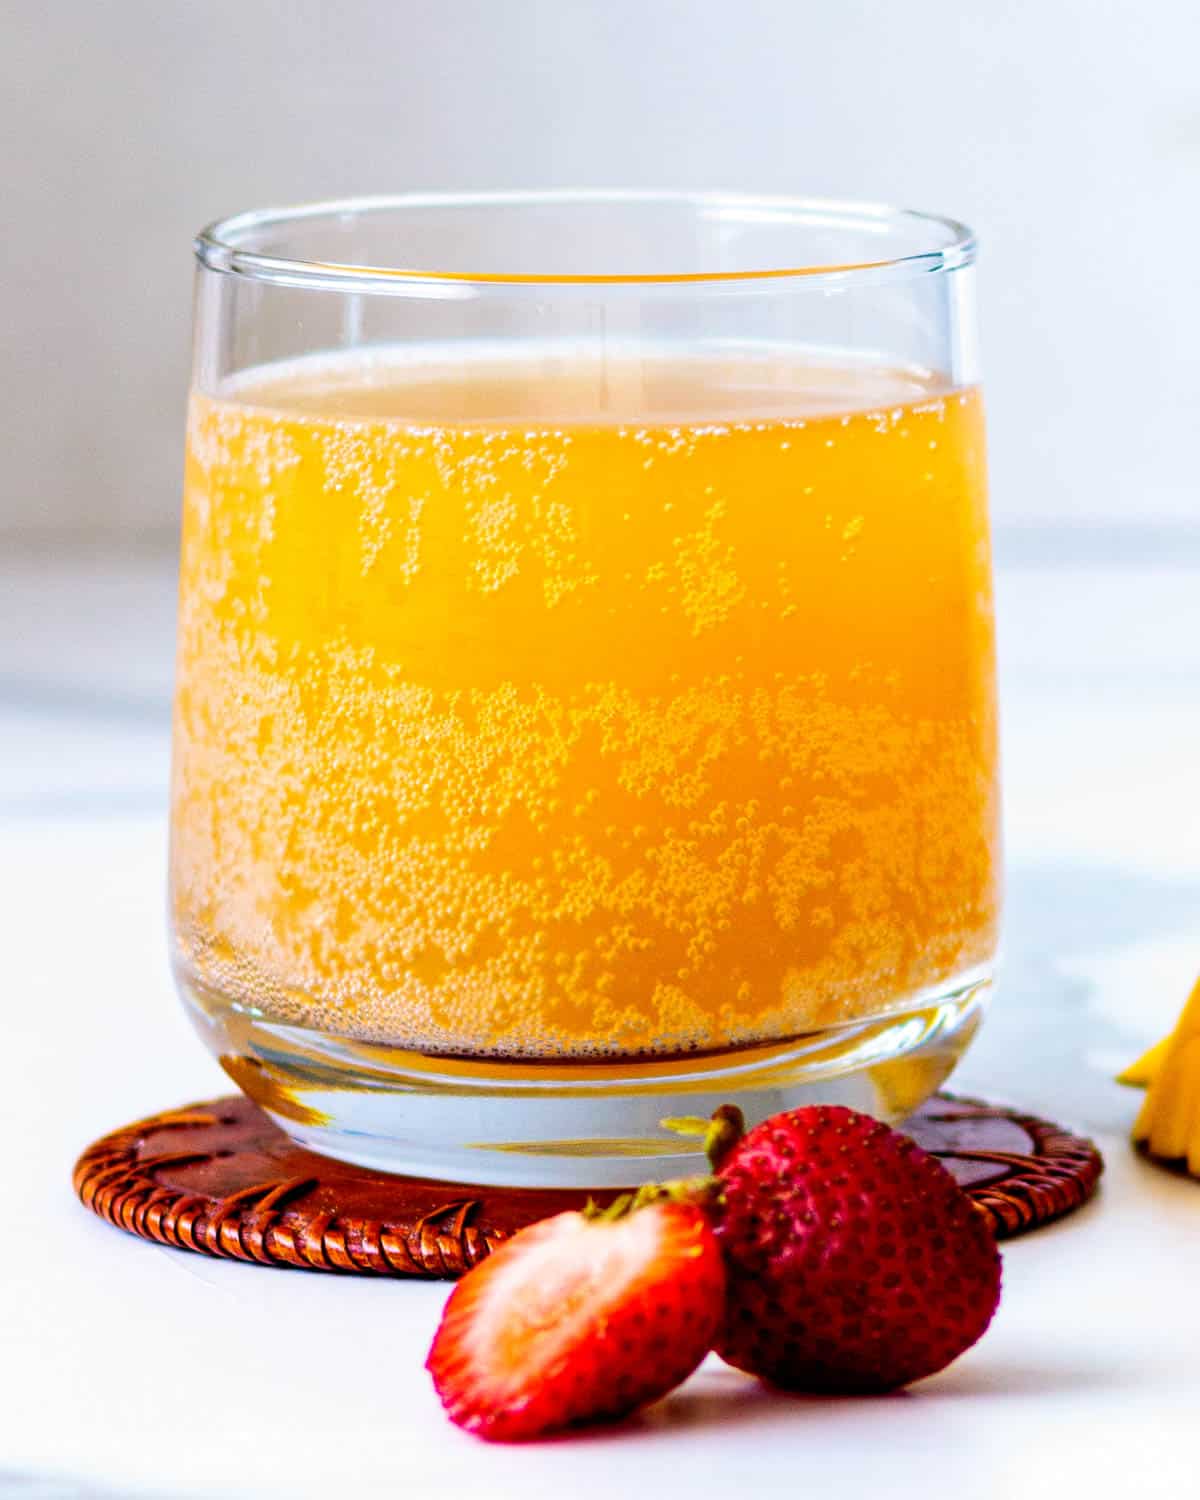
Finally, unlike bottles from the market, with homebrew, you are guaranteed natural versus artificial carbonation. So grab your gallon jar, some organic tea, raw sugar, and a SCOBY, and go for it. Believe me; it’s a good kind of obsession.
👩🏻🍳 Expert tips
Ingredients
- Tea - use unflavored real tea that is not decaffeinated. See notes on the best tea above.
- Sugar - use evaporated cane sugar, preferably organic.
- Water - use filtered or purified water without chlorine.
- SCOBY - make sure your SCOBY is healthy and include the starter liquid with it.
Equipment
- Brewing vessel - a glass jar is preferred. Don't use plastic.
- Cover - use a tight-weave, thin cotton fabric that breathes to cover the brewing jar. Cheesecloth is not recommended, as small insects can crawl through it.
Preparation
- Clean hands and equipment and make sure there are no traces of soap present.
- Cool tea to room temperature before adding the starter liquid and SCOBY.
- Store in a dark location, (pantry or cupboard) while fermenting where it won't get jostled.
- Test flavor by slipping a finger-capped straw down the side and extracting a taste.
- Throw out any batch that shows signs of mold or smells foul.
- Remember to set aside a portion of starter liquid, (1 ½ cups per gallon) to brew the next batch.
- Rinsing SCOBYS in filtered water or trimming them to fit a new vessel is fine.
💭 FAQ
Yes. Traditional kombucha is brewed with tea that contains caffeine. However, during fermentation, both the sugars and caffeine are largely reduced. Amounts vary with the tea used, but residual caffeine averages between 3 mg. and 25 mg. per cup of kombucha.
You can reduce sugar once you have experience, but I recommend starting with 1 cup per gallon of brewing for best results. You need sufficient sugar for a SCOBY to feed on. Keep in mind sugar is consumed by a SCOBY while kombucha ferments, and only a small amount of residual sugar is left when your kombucha brew is ready to drink.
Homemade kombucha will last tightly capped in the refrigerator for a long while and doesn't really go bad or spoil. The question is more of how gradually the taste changes until it resembles vinegar. Typically, this recipe holds its initial flavor for about one month. After that, it becomes increasingly sour.
🍹 More healthy beverages
Enjoyed this post? Leave a comment, rate ⭐⭐⭐⭐⭐ it, and follow @poppyswildkitchen on Instagram. Aloha!
📖 Recipe
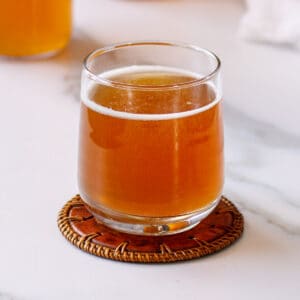
How To Brew Kombucha For Pennies
Equipment
- 1 medium saucepan
- 1 gallon jar
- 1 medium strainer
- 6 inch square piece tight-weave breathable cotton piece
- 1 rubber band
Ingredients
- 1 gallon filtered or bottled water without chlorine
- 1 cup organic evaporated cane sugar
- ¼ cup loose-leaf black tea or half green and black tea
- 1 ½ cups unflavored, unpasteurized plain kombucha
- 1 live SCOBY (gallon brew) or 2 SCOBYs (half-gallon brew)
Instructions
Brew kombucha
- Bring 3 cups of water to a boil. Add sugar and tea. Stir until the sugar is completely dissolved. Remove from heat and let the tea steep for one hour until it is at room temperature.
If brewing in a one-gallon jar
- Strain the tea leaves from the brewed tea. Pour the tea into a one-gallon jar and top with water to about ¾ full. Test the temperature. It should be lukewarm or cooler. If it is not, stir in a few ice cubes to cool the mixture.
- Pour 1 ½ cups of starter liquid from growing a scoby into the jar. Or, use store-bought unflavored, unpasteurized kombucha. Finish topping off the jar with water. Leave enough room to float your SCOBY on top. Gently add the SCOBY.
If brewing in two half-gallon jars
- Strain the tea leaves from the brewed tea. Pour all the tea into one of the half-gallon jars and top to ¾ full with water. Test the temperature and add a couple of ice cubes if needed. It should be lukewarm or cooler.
- Pour 1 ½ cups of starter liquid from growing a scoby into the jar. Or, use store-bought, unflavored, unpasteurized kombucha. Finish topping off your first jar with water.
- Pour half of the mixture into the second half-gallon jar. Top both jars with water. Leave enough room to float a SCOBY at the top of each jar. Gently float the SCOBYs on top.
Ferment kombucha
- Cover the jar(s) of kombucha with a breathable cotton cloth and secure it with a rubber band. Don't use cheesecloth, as it lets tiny insects in.
- Place kombucha brew in a dark cupboard. Check in 7 days for a balanced flavor, not too sweet or too tart. Slide a straw down the side of the jar and cap the top end with a finger to draw out a sample. Continue checking every couple of days if needed, up to 3 weeks in cold climates.
Serve
- Once your kombucha brew full of beneficial probiotics has the taste you prefer it's ready to drink. Serve it chilled or over ice.
Store
- Store kombucha brew in a tightly capped bottle in the refrigerator for up to one month. After that, it will grow increasingly tart leaning towards vinegar. You can use kombucha vinegar in salad dressings and other recipes.
Optional second fermentation
- If desired add fruit for a second fermentation. Your double-fermented kombucha will taste fantastic and be full of lively carbonation!


Kristie Connors
Hi, can you tell me why my kombucha did not get fizzy or like carbonated? It's my second time trying this and I even left it in for 10 days to know avail. I did add a teaspoon of vinegar in the beginning. It's just flat and not sure if I'm doing something wrong.
Poppy Hudson
Hello Kristie, you must be disappointed having tried twice to achieve a fizzy kombucha. Plain kombucha may sometimes develop a few bubbles, but you must do a secondary fermentation to achieve robust carbonation. Did you try the steps in my post, Kombucha Second Fermentation - 7 Flavors? I would not add vinegar to kombucha. I hope reviewing the tips in the Second Fermentation post will help you succeed!
Susan Massey
I did not know that Kombucha was made from the Camellia Sinensis leaves and flowers when I bought my plant last summer!! I have it growing in my kitchen next to my hydroponic gardens. I have a few dried leaves and flowers, with no clue as to which leaf season it is currently in. I just thought it would be cool to have a tea plant if I ever decided to make a fresh cup of hot tea 😁. This is exciting!! Going to be so much fun!!
Poppy Hudson
That is SO fun!
Cherie
Hi, do you leave your scobys in each fermentation? So, say I go through the first fermentation, if I wanted to move them to smaller jars for storage and daily drinking, would I put a small scoby in each jar? Or just take the kombucha itself? Thank you for this recipe, I look forward to trying it!
Poppy Hudson
Hello Cherie, Once you're happy with your fermentation and want to drink it, you can remove the SCOBY. Store your drinkable kombucha in a jar with a tight lid in the refrigerator. You can keep the SCOBY in a "SCOBY Hotel" or use it right away to brew a new batch of kombucha. Either way, be sure to reserve some of the finished kombucha to include with the SCOBY in the hotel or new fermentation. The recipe card has amounts and full instructions. Hope this answers your question, and enjoy your brew journey! Aloha, Poppy