Are you looking for a pita pocket bread recipe you can count on? Do you like extra-soft and cushiony pita bread? How about floury, foldable, stuffable, beyond your dreams, and healthier pita bread? How about vegan pocket bread that bakes in 3 minutes on a baking stone? Okay, now that we're on the same page, let's talk about making this recipe.
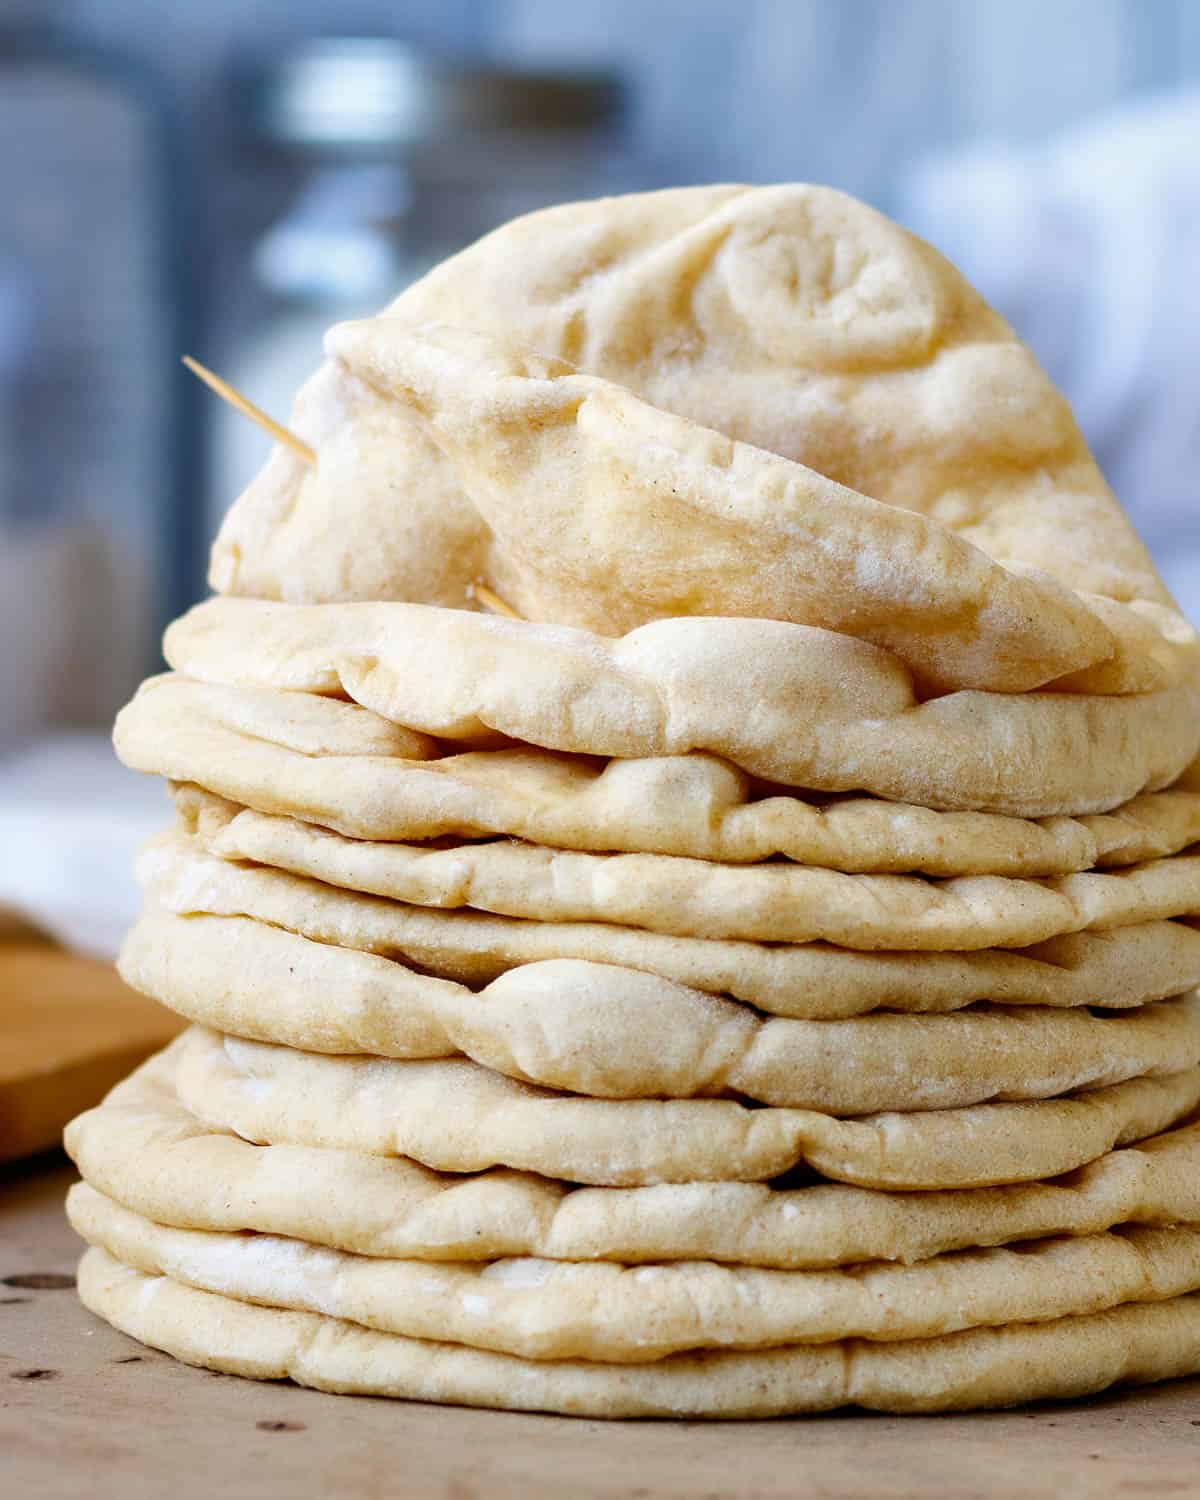
🏆 Top tip
Pita pocket bread dough puffs magically into tight round balloons within minutes of being transferred to a hot baking stone. Yes, they will sag as they cool, but the pocket is formed so you can stuff them. That's cause for celebration!
Jump to:
⭐ Why it works
- Soft pita bread and fresh taste only homemade can provide.
- Pockets you can fill.
- Healthier enriched recipe.
- Baking stone makes puffed bread easy.
- Recipe tips for transferring pitas to the oven.
- Freezer-friendly.
📋 Ingredients
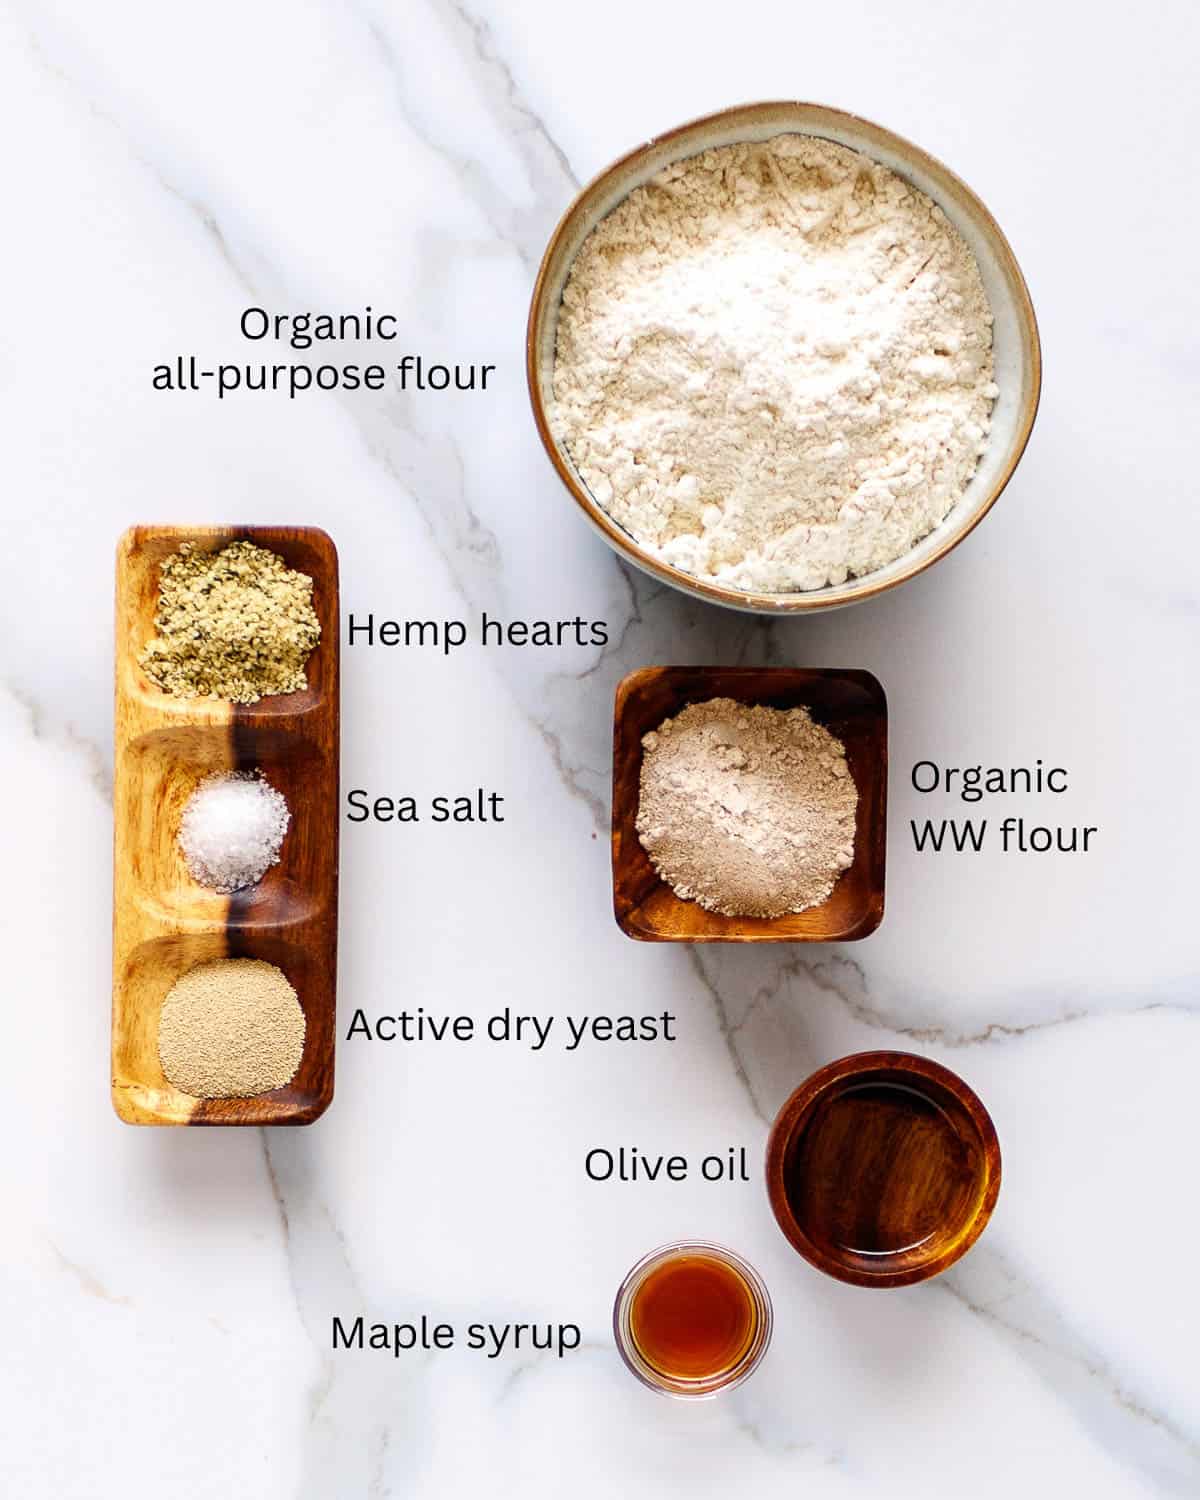
The basic ingredients for this recipe are simple and easy to find. I've added hemp hearts because they have an outstanding way of softening the dough. Plus, a light touch of nutty, stone-ground whole wheat flour increases the pita's flavor immensely.
- Organic all-purpose flour - has a lower protein content than bread flour and is essential for tender pocket bread.
- Hemp hearts - soften the dough and enrich it with healthy omegas.
- Whole wheat flour - I like organic, stone-ground whole wheat flour best.
- Active dry yeast - any brand is fine as long as it's fresh and vital.
- Maple syrup - jump-starts the yeast and gives it something to feast on.
- Olive oil - just a touch makes a difference in rolling and baking pita pocket bread.
🥣 Equipment
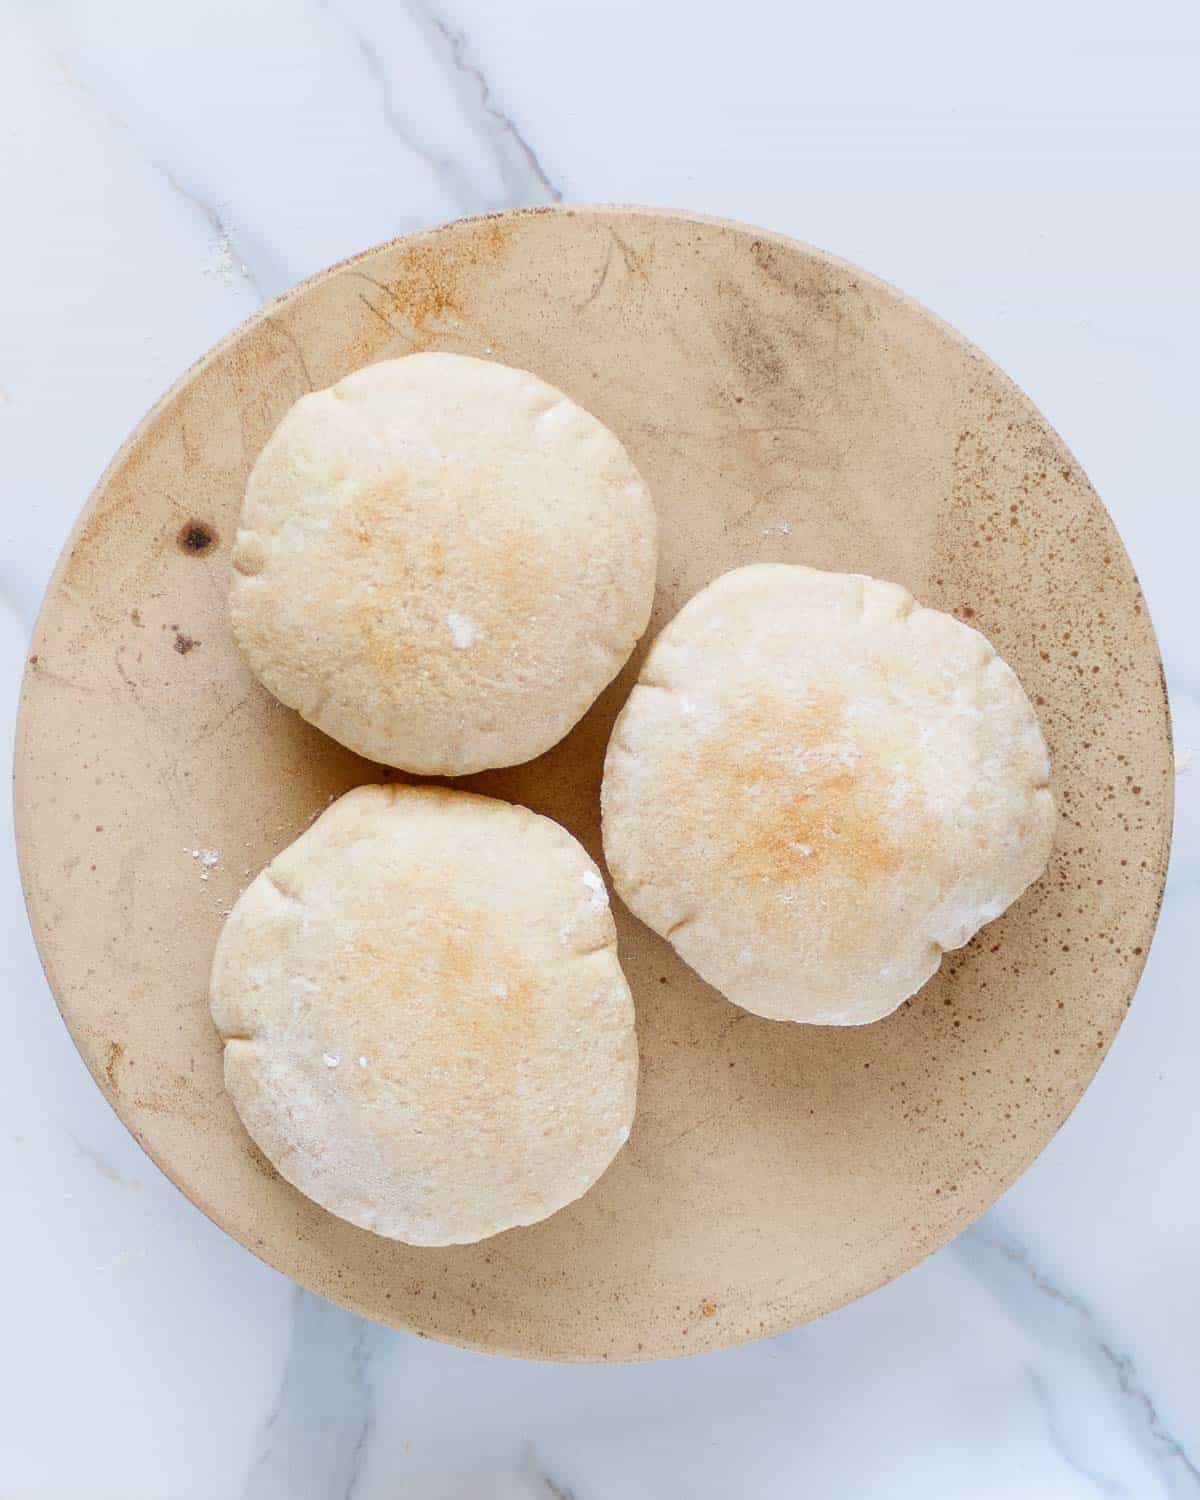
So, we have established the vital ingredients for the best pita pocket bread. But now, to be fair, I must let you know that technique, and most importantly equipment, are key as well for making easy, fool-proof pocket bread.
- Stand mixer - Does the kneading for you and makes supple, elastic dough.
- Baking stone - The surest way to make pocket bread that puffs every time.
- Baking peel - A Super Peel glides pitas onto a baking stone and ensures the dough won't tear.
- Tea towel - Tight-weave, thin cotton tea towels work beautifully to keep the dough from drying out during all the stages of rising, rolling, and resting. They also come in really handy when making homemade nut milk.
Mixer
It's true you can knead your pocket bread dough by hand. However, if you have a stand mixer, why not make it effortless for yourself? Plus, you can use the 8 minutes of time to gather the rest of your equipment.
Baking stone
If you don't already own a quality baking stone, it makes a phenomenal difference in the rise and crust of pizza, bagels, and no-knead artisan bread.
While many baking stones are available on the market, I recommend a ⅝-inch thick ceramic model. My 15-inch ceramic stone has served me well for 9 years.
Baking peel
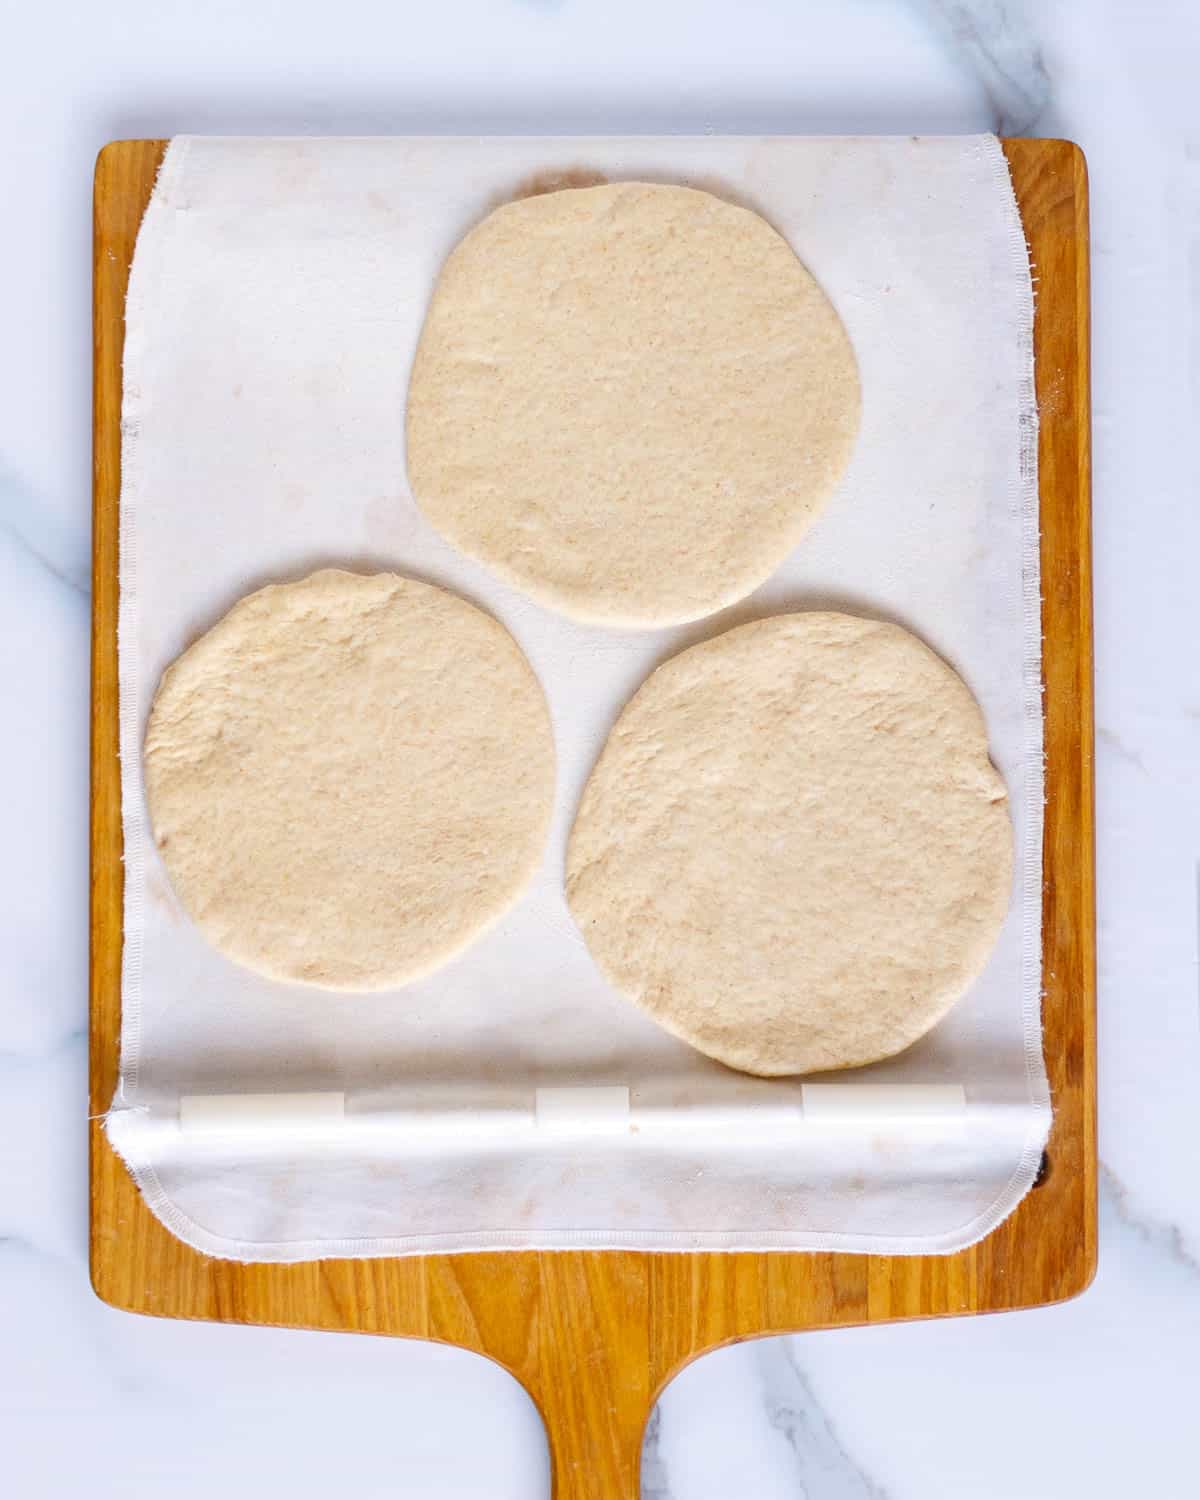
Like the stand mixer, a baking peel is optional, and you can find full instructions in the recipe card below on how to use parchment paper instead.
However, if you are serious about baking, the Super Peel is God's gift to dough handlers. It's handsome, durable, and ingenious. It works like a little conveyor belt.
Again, I have had my Super Peel for years. The company's customer service is excellent, and the story of how they started their family business is heart-warming.
🔪 Steps
Make dough
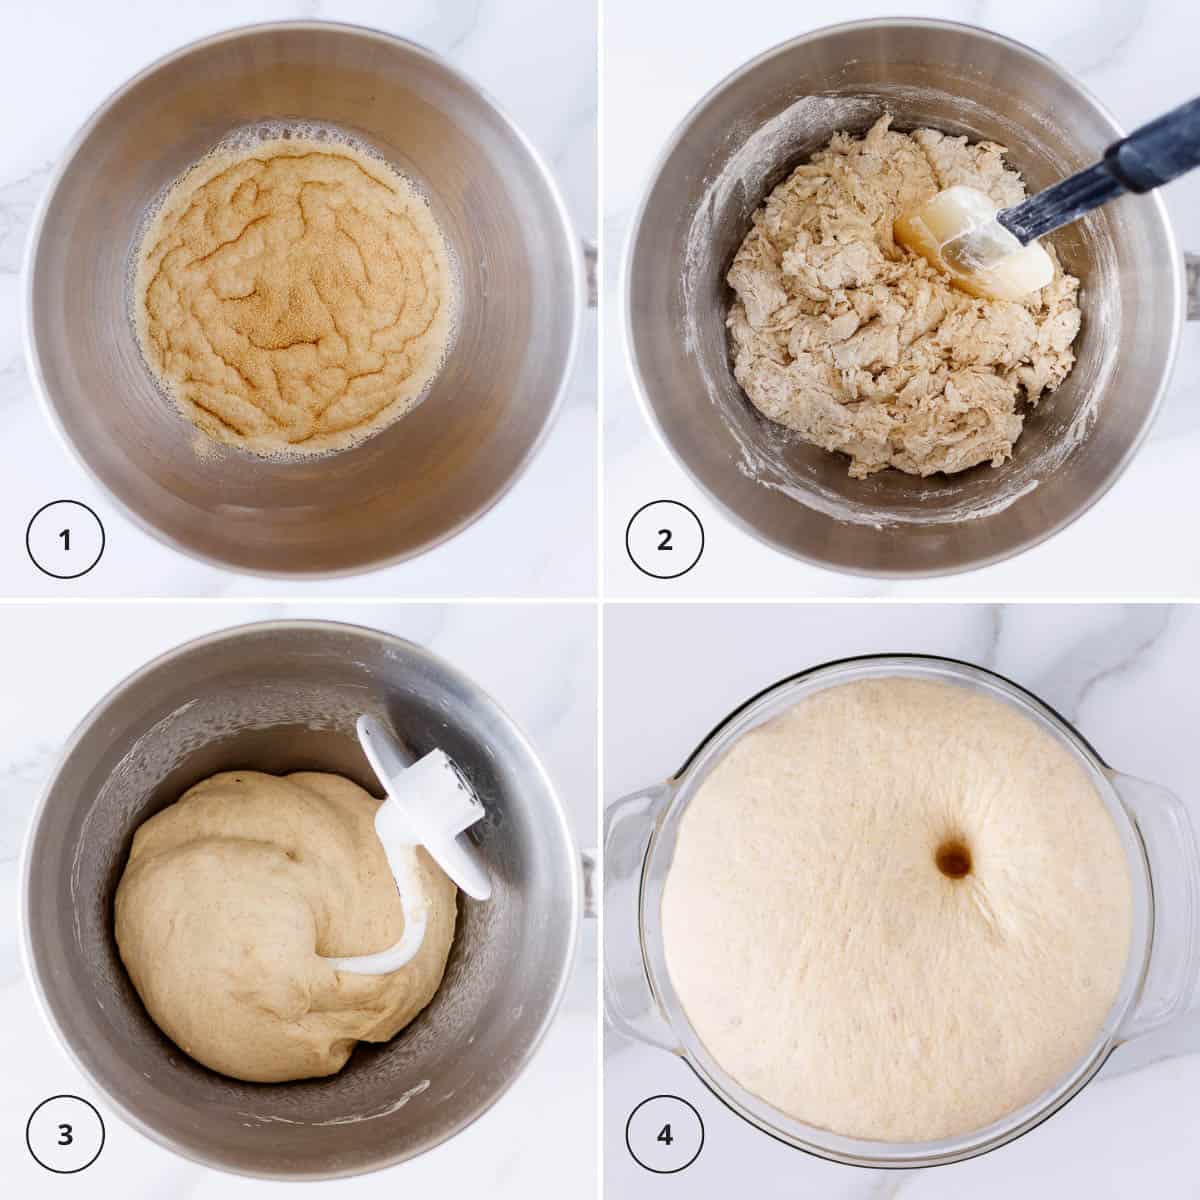
- Bloom yeast in water with a touch of maple syrup.
- Mix a rough dough with all-purpose and whole wheat flour.
- Knead dough in a stand mixer. I set my KitchenAid on setting 4 for 8 minutes.
- Rise dough until it has doubled in size.
Shape dough
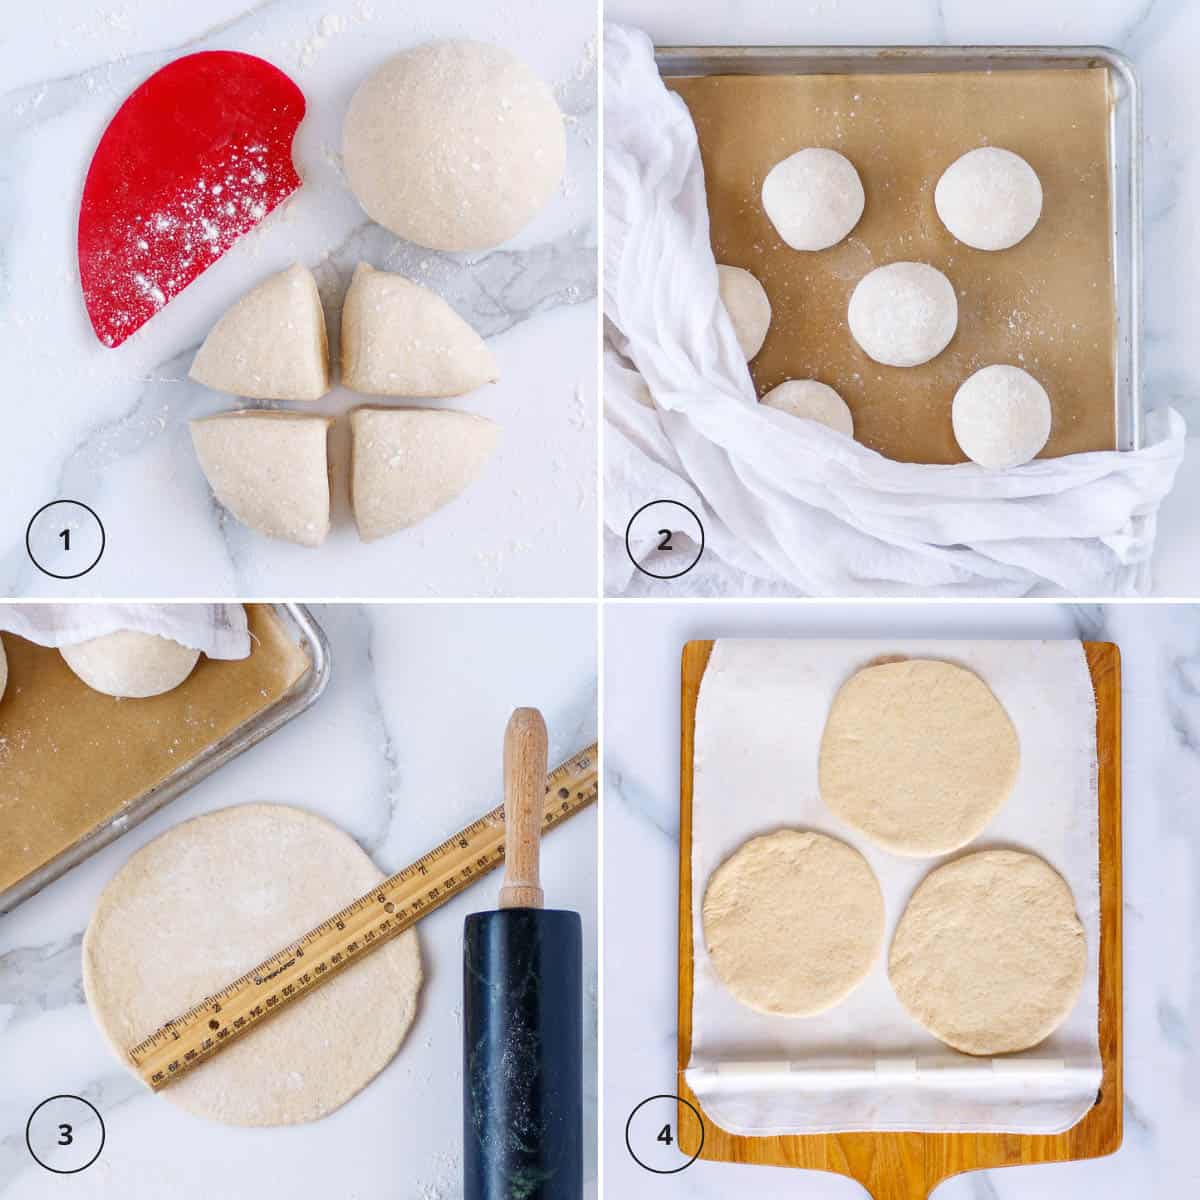
- Divide the risen dough into two balls. Divide each ball into quarters to make 8 pitas.
- Shape sections into tight round balls, cover, and rest for 10 minutes.
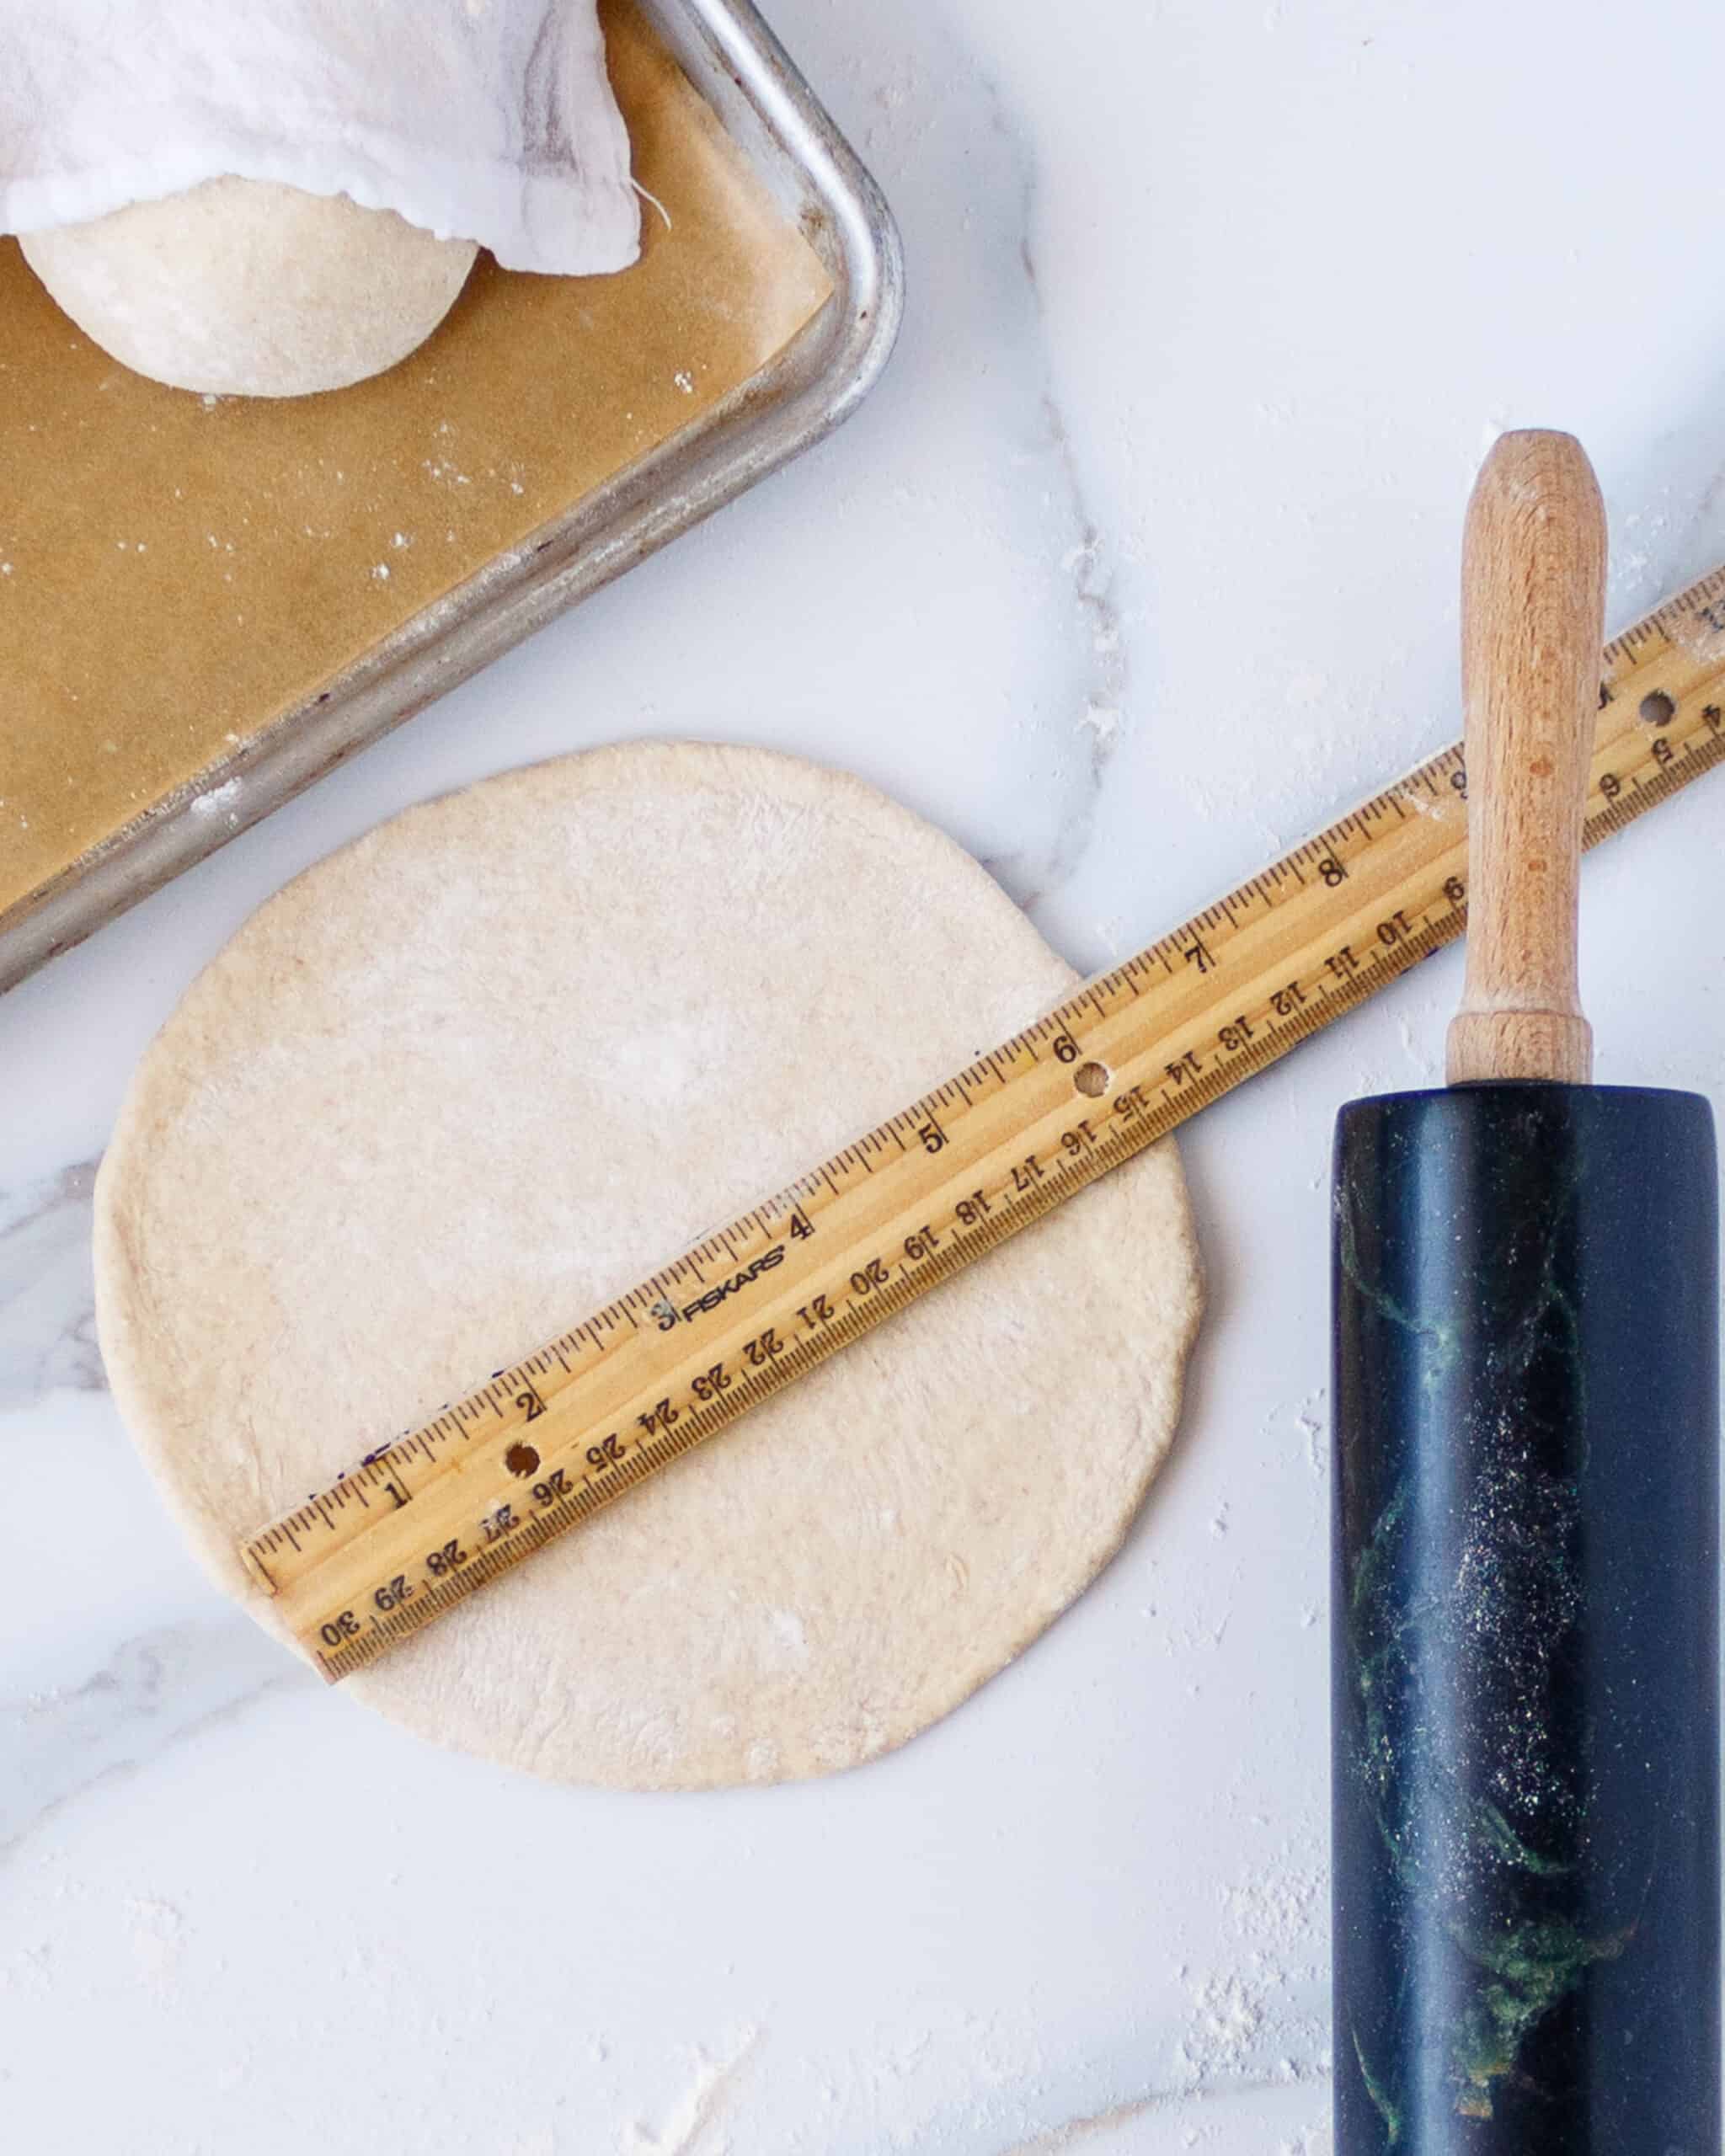
- Roll each ball out to a 6-inch flatbread.
- Transfer pocket breads to a baking peel to easily slide them onto the baking stone.
👩🏻🍳 Expert tips
Timing
The temperature of your kitchen will determine how long your rise times are and may vary from the recipe. Here are the starting guidelines:
- First rise - After kneading the dough, let it rise for 45-90 minutes until doubled.
- Rest - sectioned and shaped balls of dough for 10 minutes.
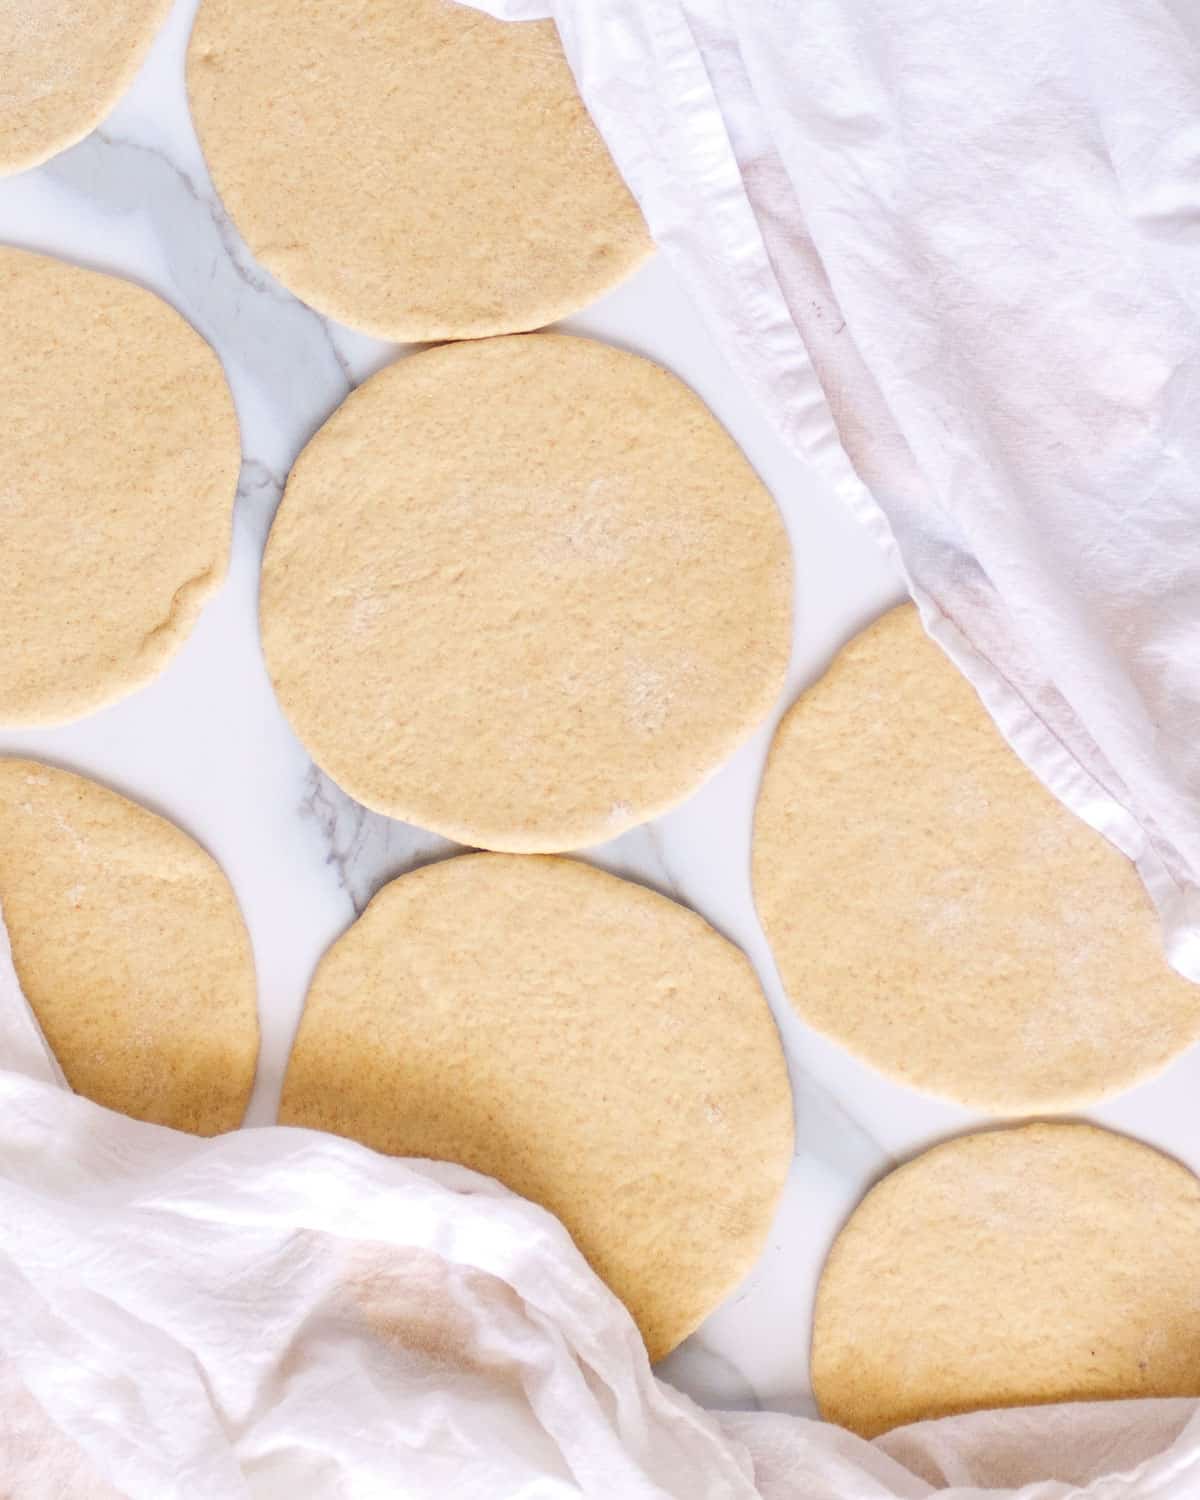
- Second rise - This one is important. Set a timer for 25 minutes after you finish rolling flat the first pita pocket bread.
- Baking - Don't overbake the pitas, or they will be dry. The first side may take as little as one minute to puff up into a balloon. That's when you want to flip them right away and bake them for one more minute.
Rolling
- Flatten individual balls of dough gently with your hands to 4 inches before rolling with a rolling pin. This helps disperse air pockets evenly without popping them.
- Flour hands and counter lightly during the rolling stage. Use as little as necessary.
- Roll pita pocket bread to 6-inches. This thickness is just right for 8 pocket breads.
- Rub the top side of the pita pocket bread with flour when you finish rolling it out. Use flour more generously at this point.
- Flip the rolled pita and lay it with the floured side down on the counter or the parchment-lined cookie sheet for the final rise. Remember to cover it with a damp towel.
- Flour the baking peel with all-purpose flour and rub well into the cloth.
More tips for success
- Measure flour with a scale for best results.
- Cover sections of dough at all times during shaping and rising with a damp tea towel.
- Preheat oven and baking stone before rolling out pita pocket bread.
- Flour the baking peel with all-purpose flour and rub well into the cloth.
- Transfer bread to the peel with a wide spatula taking care not to pierce the dough.
- Watch pitas as they bake through the oven glass door to see the minute they all have puffed into balloons. This can take as little as one minute.
- Flip pitas over gently once they have puffed and close the oven door quickly to bake one minute longer.
- Baked pita pocket bread should be pale with only a few areas of golden brown. Over-cooking pocket bread will make it dry and less flexible.
- Store finished pocket bread in a large covered container to keep it soft. Extras can be wrapped individually and frozen in a bag as soon as they cool.
💭 FAQ
Pita bread is one type of flatbread. It's popular in Middle Eastern and Mediterranean cuisine. Around the world, there are literally hundreds of types of flatbreads. The majority are not leavened and may contain a variety of different ingredients. Some examples are Mexican tortillas, Indian naan, Italian scarpaccia, Norwegian flatbrod, and kitcha from Ethiopia. Three things that make pita bread stand out are that it is leavened, does not include flours other than wheat flour, and can form a pocket when it bakes.
Traditionally pita bread is made with wheat flour, yeast, and water. Many Greek kitchens add salt, sugar, and olive oil. Thus, the majority of homemade pita bread is naturally vegan, provided the sugar is not processed with bone char. However, store-bought pita may have added ingredients, so check your label carefully if you want vegan pocket bread.
🥙 Serving
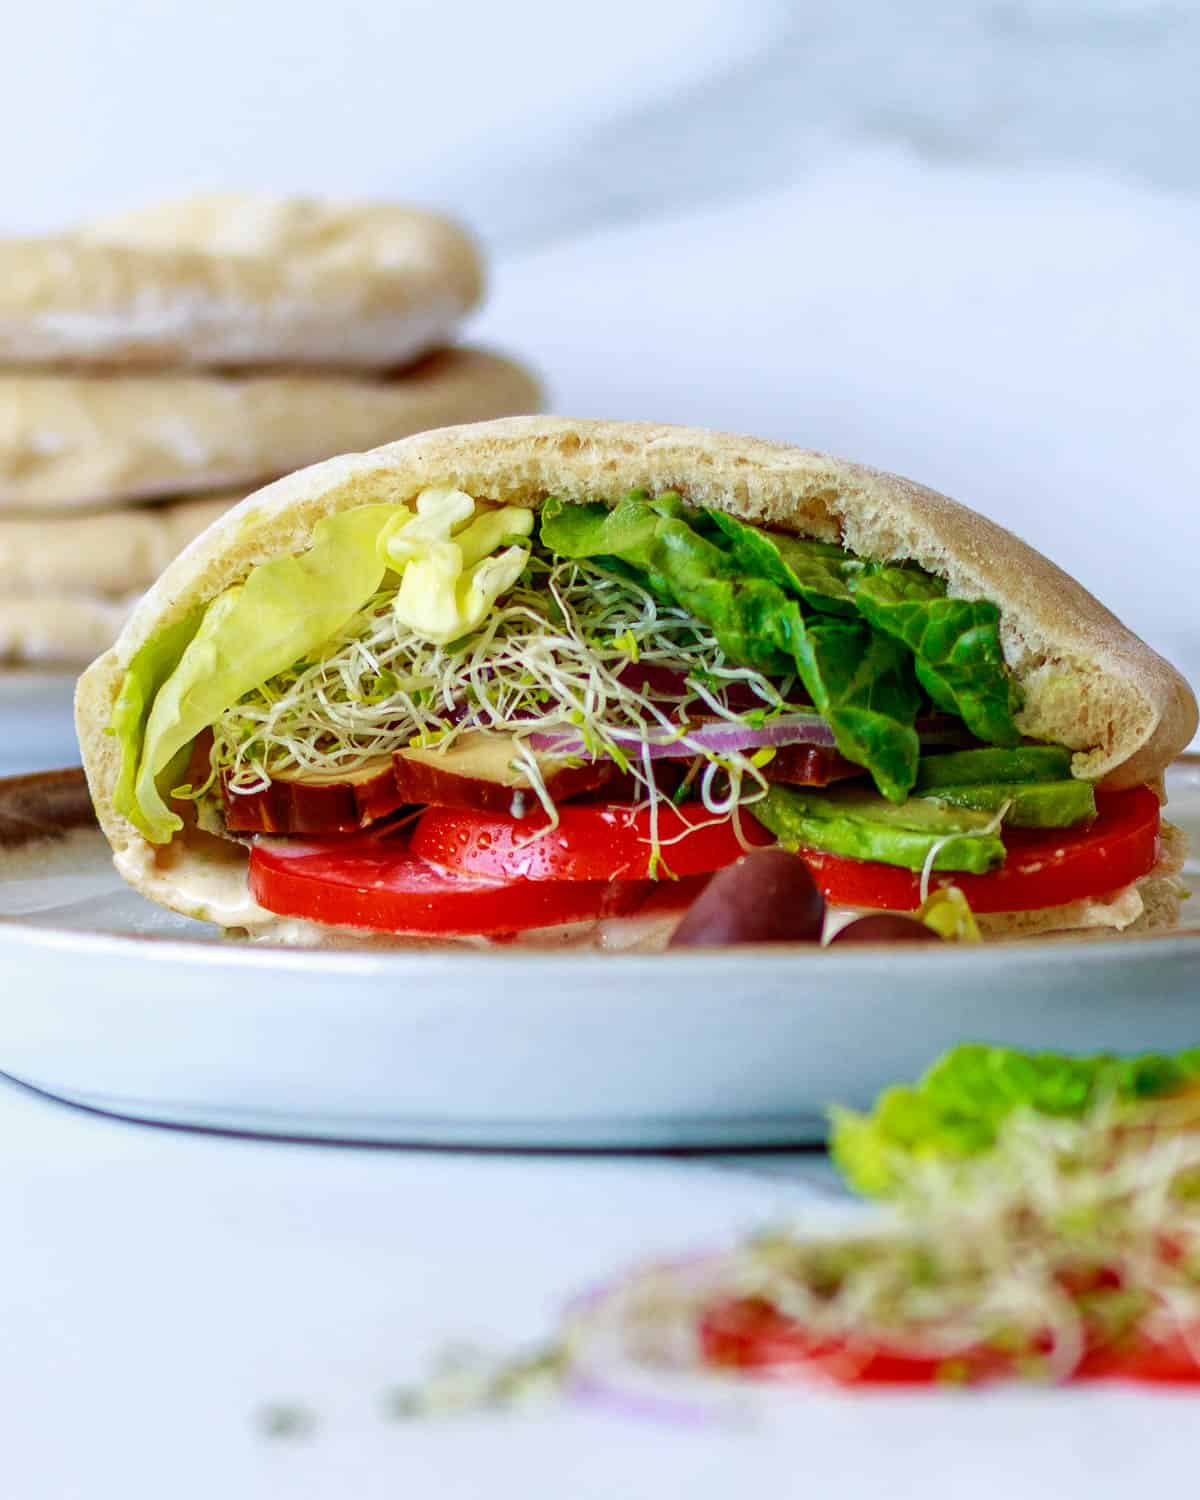
Just because you can stuff homemade pita pocket bread, don't feel like you have to limit yourself.
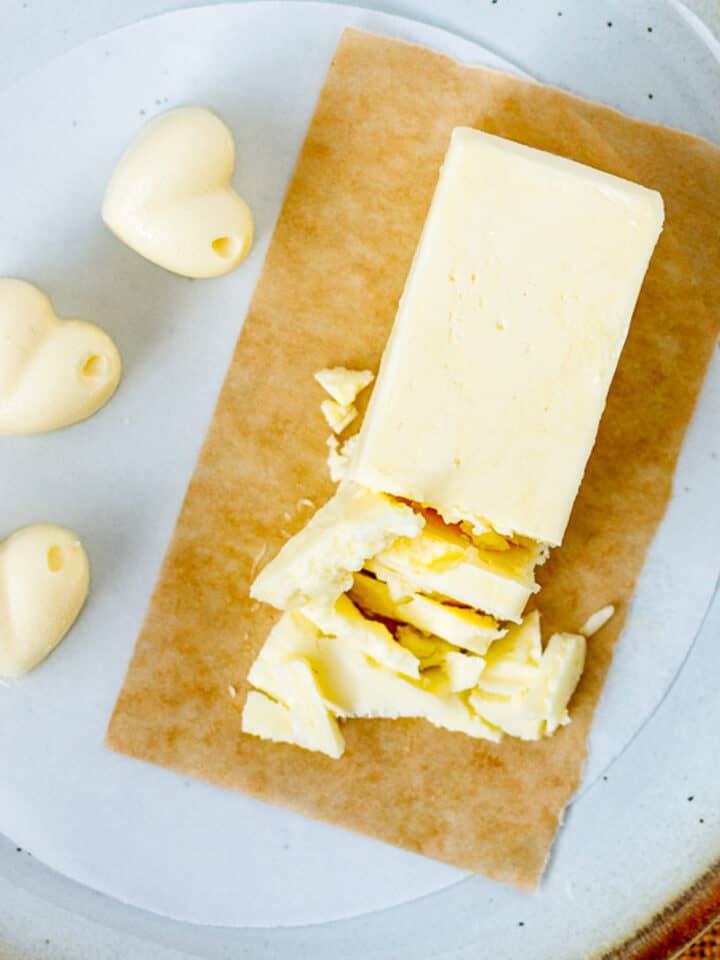
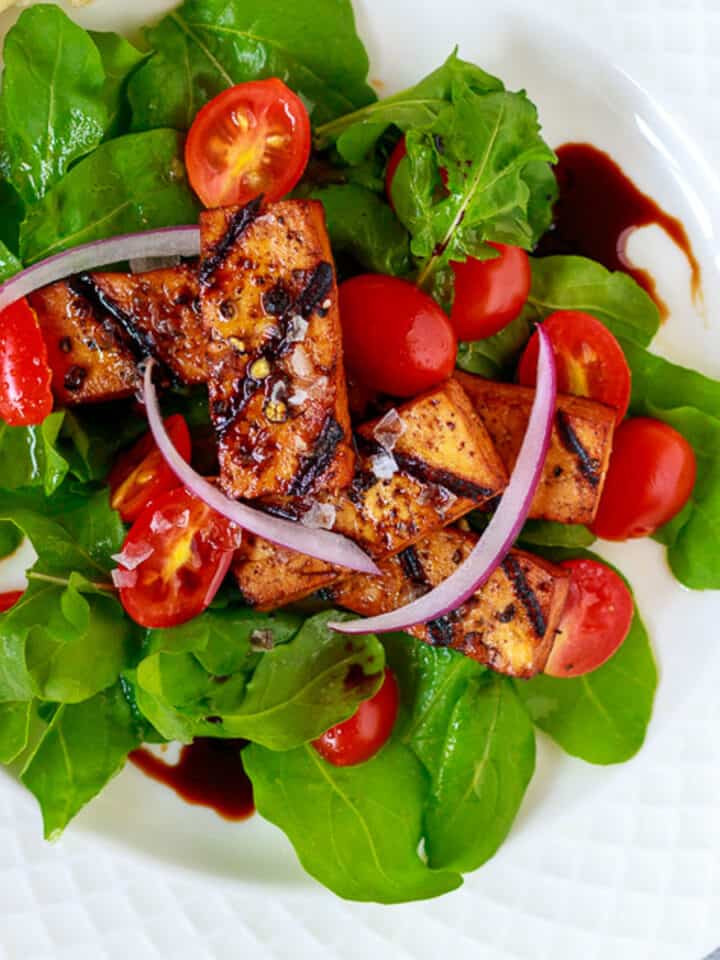
These pillow-soft flat-breads are divine simply folded in hand and dunked in a bowl of soup or slathered with butter. Here are some recipes to try with freshly-baked pita pocket bread.
Enjoyed this post? Leave a comment, rate ⭐⭐⭐⭐⭐ it, and follow @poppyswildkitchen on Instagram. Aloha!
📖 Recipe
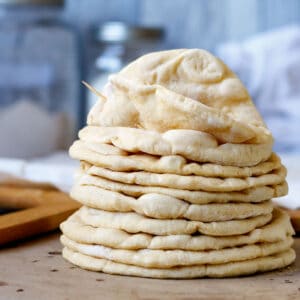
Vegan Pita Pocket Bread- Foolproof
Ingredients
- 1 cup water
- 1 TB hemp hearts
- 2 tsp. maple syrup
- 1 ½ tsp. active dry yeast
- 1 TB extra-virgin olive oil
- ¾ tsp. sea salt
- 30 grams organic stone-ground whole wheat flour (¼ cup)
- 300 grams organic all-purpose flour (2 ¼ cups)
Instructions
Make dough
- Put water, hemp seed, and maple syrup in a blender. Blend on high for one minute or until hemp seed is fully dissolved.
- Pour blended hemp milk into the bowl of a stand mixer. Sprinkle with yeast and let it bloom for 5 minutes.
- Whisk in olive oil, whole wheat flour, and salt. Don't add the all-purpose flour until the whole wheat flour is dispersed in the liquid. Stir in the all-purpose flour to make a rough dough.
Knead dough
- Attach a dough hook to the mixer. Knead on medium setting for 8 minutes. If you have a KItchenAid mixer, setting 4 is just right. The dough will be stretchy and slightly sticky when finished.
- Alternatively, knead by hand until the dough is smooth and elastic. Don't use too much flour.
First rise
- Oil hands and a large bowl lightly with olive oil. Scrape dough into the oiled bowl and cover. Let rise until fully doubled, approximately 45 minutes to 90 minutes, depending on room temperature.
Section and rest dough
- Lay a sheet of parchment paper on a large cookie sheet. Moisten two thin tea towels and wring them out well.
- Lightly flour a countertop. Divide dough into 2 pieces. Using floured hands, shape the dough into two round discs. Cut each disc in equal quarters as you would a pie. You will end up with 8 pieces of dough on the counter.
- Keep all the sectioned pieces of dough loosely covered with the damp tea towel while working.
- Take out one piece of dough and flatten and stretch it out a bit while holding it in your hands. Then, pull the edges up and tuck them into the center, like a belly button. Pinch the top of the dough together to form a smooth round ball. Dust very lightly with flour and place seam-side down on the parchment-lined cookie sheet. Keep balls of dough covered with the second damp towel while working.
- When all the balls of dough are shaped, set a timer and let rest 10 minutes.
Preheat pizza stone
- Place a pizza stone on the middle rack of your oven and preheat it to 500 degrees.
Roll pitas
- Lightly dust a large, smooth work surface at least 24 inches long with flour. Use flour sparingly while rolling, but do keep the dough from sticking to the counter.
- Take one piece of dough from the cookie sheet. Flatten it gently with your hands to 4 inches before rolling with a rolling pin. This helps disperse air pockets evenly without popping them. Roll the dough to 6 inches. This thickness is just right for 8 pocket breads.
- Rub the top side of the first rolled pita with flour when you finish rolling it out. Use flour more generously at this point. Flip the pita and lay it with the floured side down for the final rise. Set a timer for 25 minutes and continue rolling out the remaining pitas.
- If you will be using a Super Peel, you can leave the individual pitas to rise directly on the countertop. However, if you will be using parchment, transfer each pita back to the cookie sheet after rolling it out. You may need an addition cookie sheet lined with parchment.
- Keep the rising pita bread covered at all times with damp tea towels.
Bake
- Select the pitas that were rolled out first. Use a spatula to carefully transfer 3-4 pitas at a time to a Super Peel.
- Alternatively, trim the parchment paper they are resting on to sections with 3-4 pitas.
- Transfer rolled pocket bread to the hot baking stone and watch as they bake through the oven's glass door. You want to catch the moment they all have puffed into balloons. Take care not to overbake the pita. If one doesn't puff, go ahead and flip them all anyway.
- Gently flip the puffed pocket bread and close the oven door quickly. Bake for one more minute.
- Put the baked pita breads in a large bowl and cover the bowl loosely. Repeat until all the pocket breads are baked.
Store
- Homemade pita pocket bread is best eaten the same day it's baked. However, any leftovers can be frozen and thawed later to enjoy. Wrap them well before freezing and store them for up to 3 months in the freezer.
Notes
Ingredients
Make sure to use stone-ground whole wheat flour and all-purpose flour as specified for optimal results. For example, whole wheat pastry flour will make the dough too wet, and white bread flour will make the pitas tough.Baby pita pocket bread
This recipe will make 8 medium-sized pitas. However, you can divide the dough to make baby pitas or larger bread as desired. Just roll the dough to ⅛th-inch thickness.Timing
The temperature of your kitchen will determine how long your rise times are and may vary from the recipe. Here are the starting guidelines: First rise - After kneading the dough, let it rise for 45-90 minutes until doubled. Rest sectioned and shaped balls of dough for 10 minutes. Second rise - This one is important. Set a timer for 25 minutes after you finish rolling flat the first pocket bread. Bake - Don't overbake the pitas, or they will be dry. The first side may take as little as one minute to puff up into a balloon. That's when you want to flip them right away and bake them for one more minute.Rolling
Flatten individual balls of dough gently with your hands to 4 inches before rolling with a rolling pin. This helps disperse air pockets evenly without popping them. Flour hands and counter lightly during the rolling stage. Use as little as necessary. Roll pita pocket bread to 6-inches. This thickness is just right for 8 pocket breads. Rub the top side of the pita pocket bread with flour when you finish rolling it out. Use flour more generously at this point. Flip the rolled pita and lay it with the floured side down on the counter or the parchment-lined cookie sheet for the final rise. Remember to cover it with a damp towel.More essential tips for success
- Measure flour with a scale for best accuracy.
- Cover sections of dough at all times during shaping and rising with a damp tea towel.
- Preheat oven and baking stone before rolling out pitas.
- Flour the baking peel with all-purpose flour and rub well into the cloth.
- Transfer pitas to the peel with a wide spatula taking care not to pierce the dough.
- Watch pitas as they bake through the oven glass door and flip them over gently as soon as all three have puffed into balloons. This can take as little as one minute.
- Turn pitas over once they have puffed and close the oven door quickly to bake one minute longer.
- Baked pita pocket bread should be pale with only a few areas of golden brown. Over-cooking pocket bread will make it dry and less flexible.




"Share Your Thoughts"